
 Save
Save
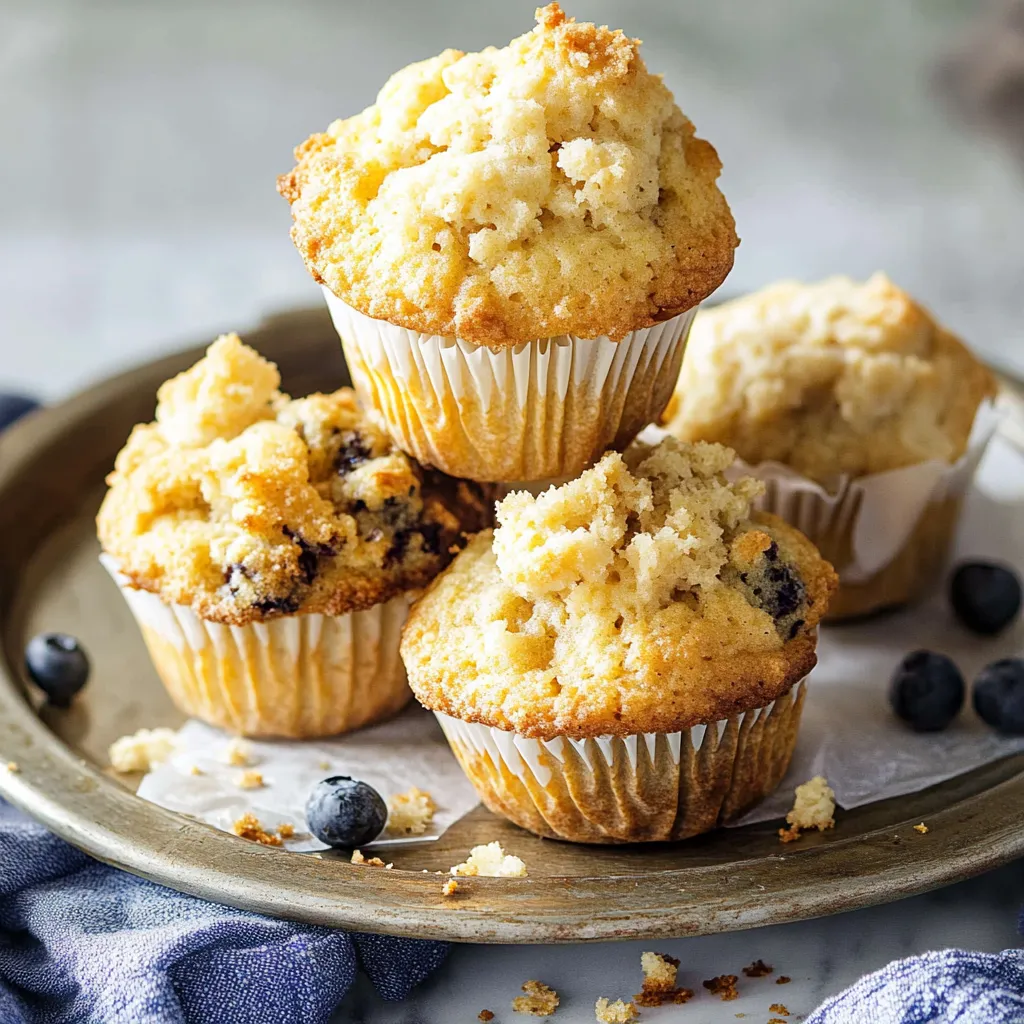
This ultimate muffin recipe has become my go-to base for creating countless flavor variations, perfect for everything from quick breakfasts to afternoon treats with tea. The crumb is tender and moist while the tops develop that coveted bakery-style dome that makes homemade muffins so special.
I discovered this recipe during a weekend baking marathon when I was determined to create the perfect versatile muffin base. After countless batches and tweaks, this version emerged as the clear winner that my family now requests weekly.
Ingredients
- All-purpose flour: provides the perfect structure without becoming tough
- Combination of white and brown sugars: creates depth of flavor and moisture
- Baking powder: in a generous amount helps create that beautiful rise
- Real buttermilk: is non-negotiable for achieving proper tenderness and flavor
- Melted butter: adds richness that vegetable oil simply cannot match
- Room temperature eggs: incorporate more evenly into the batter
- Vanilla extract: enhances other flavors without overwhelming them
- Coarse sugar topping: creates a delightful sweet crunch on top
Step-by-Step Instructions
- Prepare Your Equipment:
- Preheat your oven to 400°F and position a rack in the upper third which helps create those beautifully domed tops. Line your muffin tin with paper liners to prevent sticking and make cleanup easy.
- Mix Dry Ingredients:
- Whisk together flour, granulated sugar, brown sugar, salt, and baking powder in a large bowl until completely combined. This thorough mixing ensures even distribution of leavening and sweetness throughout your muffins.
- Combine Wet Ingredients:
- Beat the buttermilk, melted butter, eggs, and vanilla in a measuring cup until fully incorporated. Using a measuring cup makes pouring easier and reduces the number of dishes to wash.
- Create Your Batter:
- Pour the wet ingredients into the dry ingredients and stir just until a few flour streaks remain. Add any mix-ins at this point and fold gently. Stopping before completely mixed prevents tough muffins by minimizing gluten development.
- Rest The Batter:
- This optional but highly recommended step makes a remarkable difference. Cover and refrigerate the batter for one hour or overnight, allowing the flour to fully hydrate and the gluten to relax for taller, more tender muffins.
- Fill Muffin Cups:
- Divide the batter evenly among the prepared cups, filling them nearly to the top. Sprinkle with coarse sugar if desired for a professional bakery finish and delightful crunch.
- Bake To Perfection:
- Bake for 16-18 minutes until golden brown with a clean toothpick test. The high initial temperature helps create the dramatic rise that makes these muffins so spectacular.
 Save
Save
The brown sugar in this recipe is something I absolutely insist on, even when making fruity versions. It adds a subtle caramel note that creates depth and complexity in what would otherwise be a simple muffin. My daughter always knows when I try to skip it, claiming the muffins just taste flat without it.
The Secret of Resting Batter
While you can certainly bake these muffins immediately after mixing, allowing the batter to rest revolutionizes the texture. During this rest period, the flour fully hydrates and the gluten relaxes, resulting in incredibly tender muffins with higher domes. I discovered this technique accidentally when an unexpected phone call interrupted my baking, but the resulting muffins were so superior that I now build rest time into every batch.
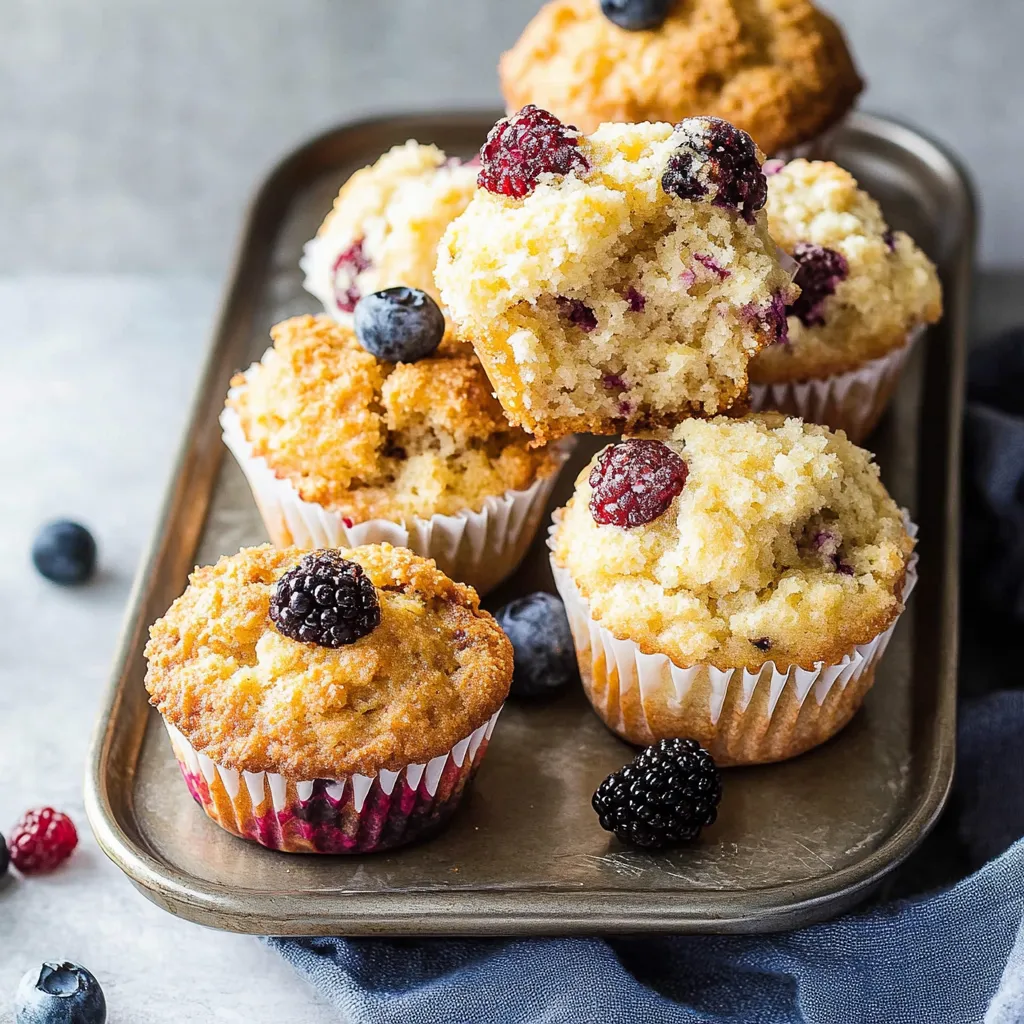
Flavor Variations
Turn these muffins into any flavor you can imagine with simple additions. For blueberry muffins, fold in 1½ cups fresh or frozen berries. For chocolate chip, add 1 cup chocolate chips and a teaspoon of espresso powder to enhance the chocolate flavor. Lemon poppyseed versions shine with 2 tablespoons of zest and 1 tablespoon of poppyseeds. Apple cinnamon muffins need 1 cup diced apples and 1 teaspoon cinnamon. The variations are truly endless with this bulletproof base.
Storing Muffins Properly
These muffins stay fresh at room temperature for 2-3 days when stored in an airtight container. Placing a paper towel under them absorbs excess moisture and prevents sogginess. For longer storage, freeze completely cooled muffins by wrapping individually in plastic wrap then placing in a freezer bag. Thaw at room temperature or microwave for 20-30 seconds for an instant breakfast or snack.
Frequently Asked Questions About Recipes
- → Can I use a substitute for buttermilk?
While real buttermilk offers the best flavor and texture, you can use a buttermilk substitute by mixing 1 cup of milk with 1 tablespoon of lemon juice or vinegar. Let it sit for 5 minutes to curdle before use.
- → Why should I rest the batter in the fridge?
Resting the batter allows the flour to fully hydrate, resulting in taller, more tender, and moist muffins. It’s worth the wait for better texture!
- → What are some optional add-ins?
You can mix in fruits, chocolate chips, nuts, or even spices like cinnamon or nutmeg to customize your muffins to your taste.
- → How can I make my muffins look bakery-style?
Sprinkling coarse or turbinado sugar on top of the batter before baking gives muffins a crunchy and glossy top, enhancing visual appeal.
- → How do I know when the muffins are done baking?
Insert a toothpick into the center of a muffin. If it comes out clean or with a few moist crumbs, they are ready to come out of the oven.
- → Can I freeze the muffins for later?
Yes, muffins freeze well. Allow them to cool completely, then store in an airtight container or freezer bag for up to 3 months. Thaw at room temperature or warm slightly in a microwave before serving.