
 Save
Save
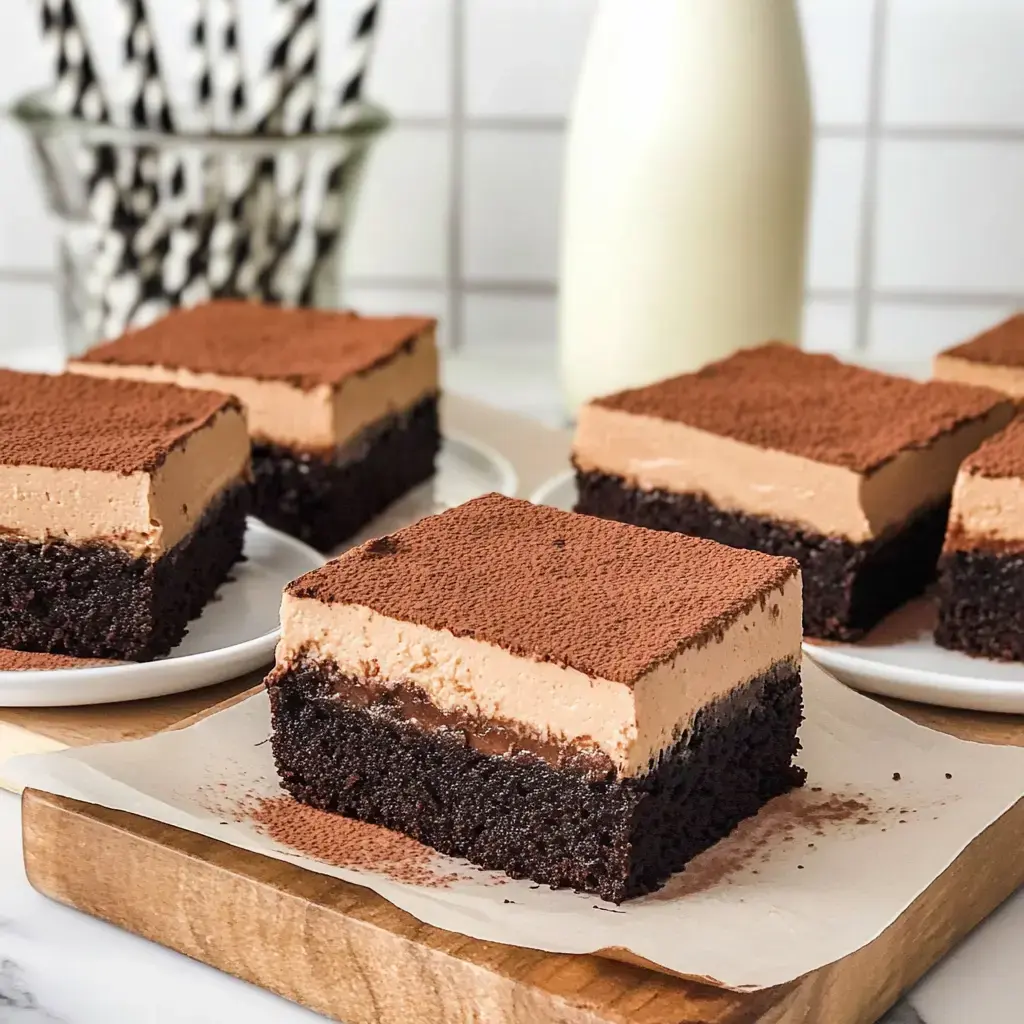
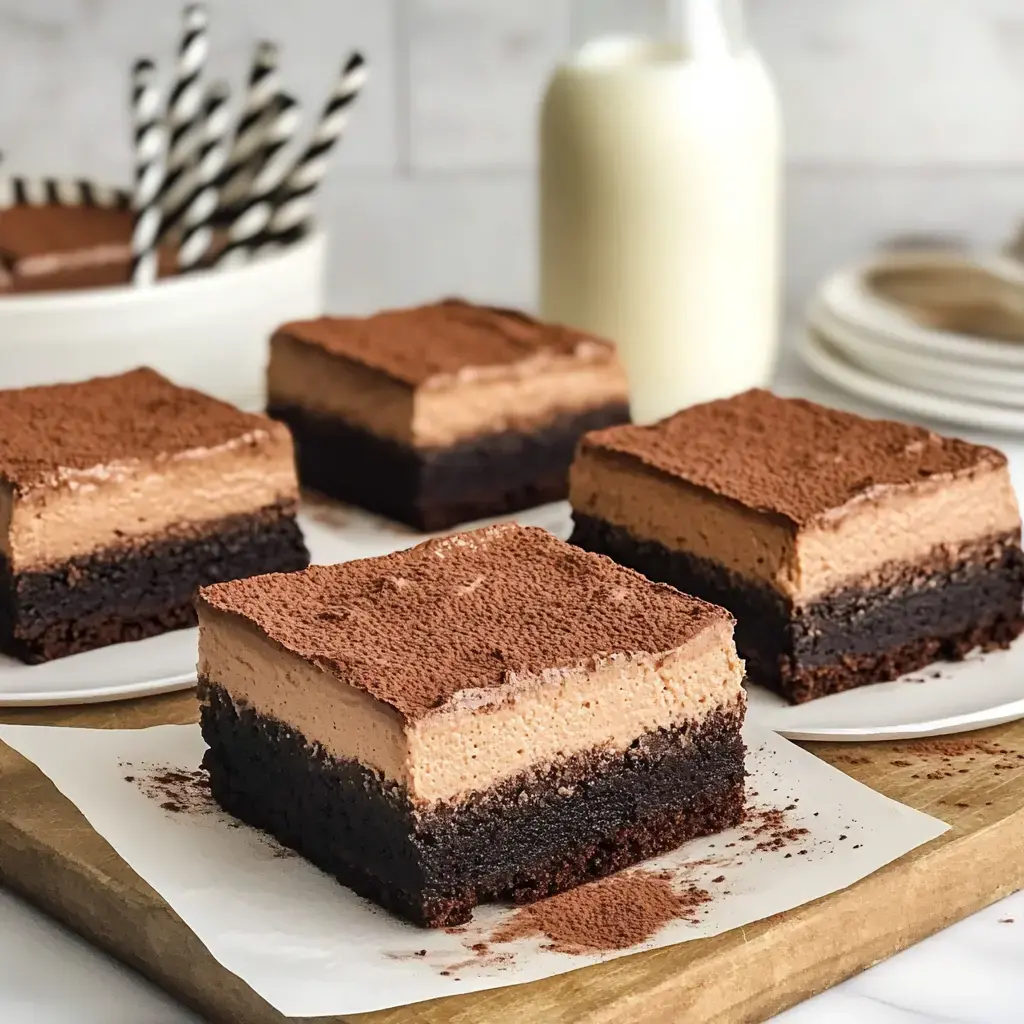
I whipped up these Chocolate Mousse Brownies for my kid's special day, and they've turned into our family's top-requested sweet treat. Imagine three levels of chocolate heaven - starting with a gooey, rich brownie foundation, topped with fluffy, smooth chocolate mousse, and finished with a light sprinkling of cocoa. Everyone's face lights up when this dessert makes its way to the dinner table.
Why These Stand Out From The Crowd
These go way beyond ordinary brownies. The real wow factor happens where that thick, fudgy bottom meets the incredibly airy chocolate mousse layer. Each mouthful is a chocolate lover's dream. I've brought these to so many gatherings, and they always end up as the star attraction. I still get excited every time I cut them open and see those stunning layers.
What You'll Need To Buy
The journey to amazing brownies begins at the store. I pick unsalted butter so I can add just the right amount of salt myself. Eggs at room temp mix in without any fuss. Dutch processed cocoa is the big winner here - it creates that intense chocolate kick we all want. For the top part, I don't mind spending extra on quality semi sweet chocolate bars. The heavy cream turns into that wonderful fluffy mousse, and a bit of plain gelatin keeps everything nicely shaped. Sometimes I go wild and swap in peanut butter mousse instead.
Step By Step Directions
First tackle the brownie part - combine your butter with sugar and vanilla, then mix in your eggs. Drop in your cocoa, flour and salt, spread it in the pan and pop it in the oven. While that's cooking, let's handle the mousse. The key move is soaking the gelatin first, then warming it with a bit of cream. Dump this over your chocolate and keep stirring until it looks glossy. After everything cools down, fold in the whipped cream to get that perfect mousse feel. Stack everything up, then comes the toughest bit - waiting all night while it firms up in your fridge.
 Save
Save
Insider Tips From My Kitchen
I found out the hard way you should always put parchment paper in your pan with extra hanging off the sides - it makes pulling these treats out so much simpler. You've gotta be patient - make sure each layer cools fully before adding the next. Leaving them in the fridge overnight gives you those clean, sharp cuts. Make small pieces for big groups or larger ones when you're really craving something sweet. And when I'm rushed, I'm totally fine using a store-bought brownie mix for the bottom layer.
How To Store Them Right
These treats need to stay in the fridge in something airtight - they'll remain tasty for around 3 days, though at my place they're usually gone way before that. Don't try freezing them - the mousse just won't taste right afterward. They taste best cold from the fridge, and if you want to go all fancy, add a scoop of vanilla ice cream or some fresh berries on the side.
Key Takeaways
These bars mix chewy brownie with airy mousse. Most of the time is for chilling, so they're mostly fuss-free but totally worth it.
Frequently Asked Questions About Recipes
- → What's the reason for long chilling?
- It gives the mousse enough time for the gelatin to set, making it easy to slice and serve with the right texture.
- → Why is Dutch cocoa used here?
- It has a smooth, rich chocolate taste and darker color compared to regular cocoa. Plus, it's less sharp in flavor.
- → Can I make these ahead?
- Definitely. Prepare them the day before and just dust cocoa powder on top before serving to keep them looking fresh.
- → Why fold in whipped cream instead of mixing?
- Folding keeps the mousse fluffy by keeping the air bubbles in. Stirring too hard would ruin that texture.
- → Why let the chocolate cool first?
- Hot chocolate would melt the whipped cream and ruin the mousse's light, airy feel. Wait until it's room temp.