
 Save
Save
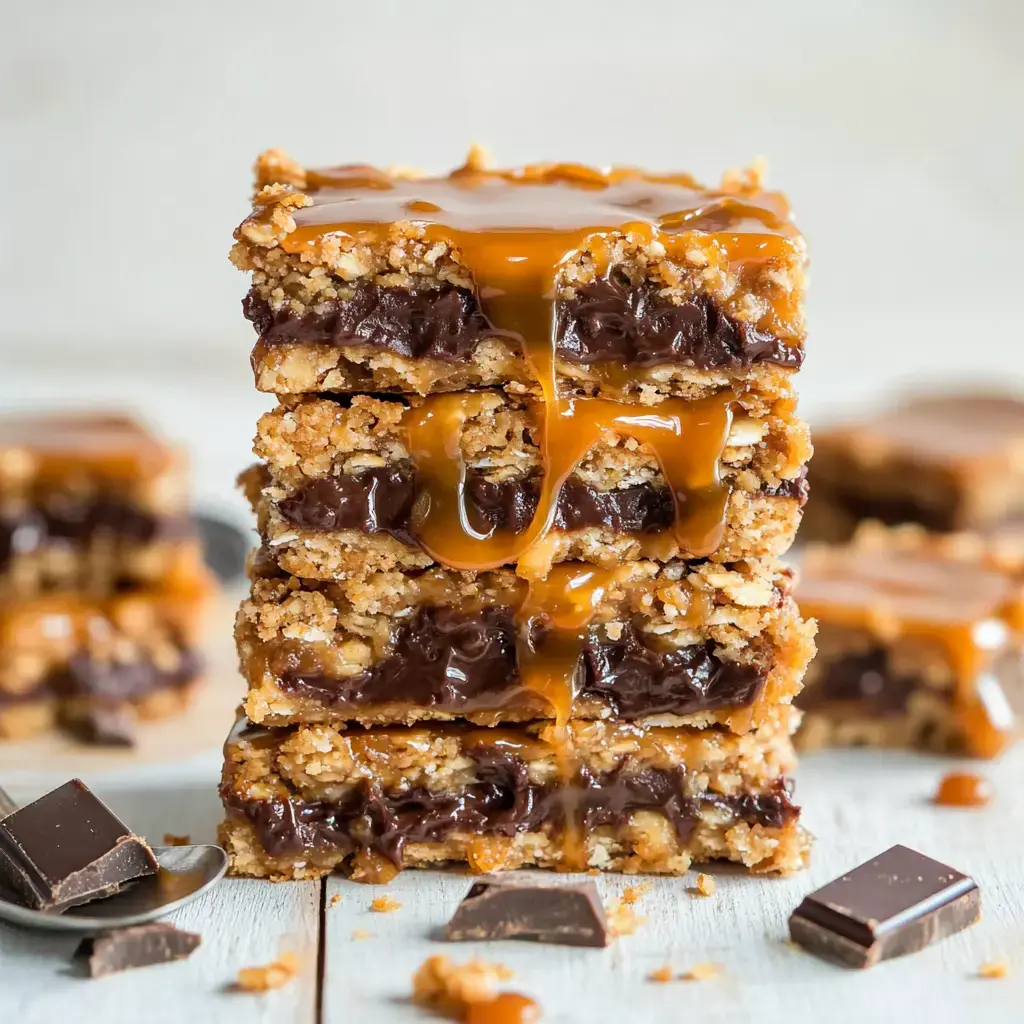
I stumbled upon Carmelitas tucked away in my grandma's collection of desserts and instantly felt I'd hit gold. These divine treats with their buttery oat base and crown hugging sweet caramel and soft chocolate chunks have gotten rave reviews at every family event I've brought them to. The coolest thing? They're super straightforward to make – no fancy gadgets needed, just basic stuff from your pantry and a touch of care.
The Wonder Inside Each Nibble
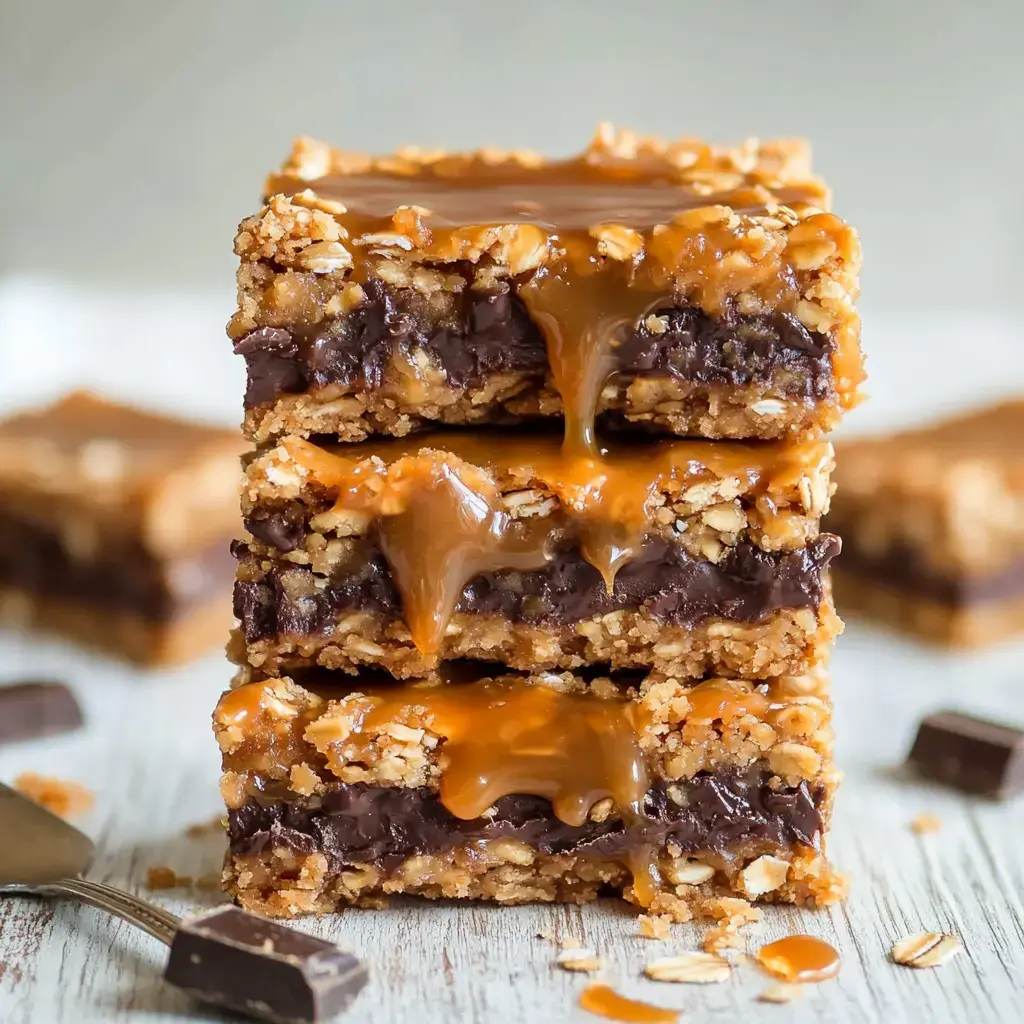
I'm still amazed how the sticky oatmeal layers hold that wonderful mix of warm caramel and soft chocolate whenever I bake these. There's this magic in mixing sweet with a hint of salt that makes folks grab seconds and thirds. At parties, I've watched trays of these clear out way quicker than any fancy dessert around.
What You'll Need
Great Carmelitas start with quality butter – that's what gives them their wonderful taste base. Always grab old fashioned oats, not the quick kind, since they create that perfect chew you want. The dark brown sugar adds this cozy flavor that teams up with vanilla to fill your kitchen with amazing smells. For my caramel, I always pick up Werther's Baking Caramels because they melt so smoothly. A bit of heavy cream helps make that runny, gooey middle, while semi sweet chocolate chips cut through all that sweetness just right.
Working Your Kitchen Magic
First, blend your melted butter with brown sugar and vanilla until you can't help but sniff the bowl. Throw in your flour, oats, baking soda and salt. Push half into your pan and bake it quickly. While it's getting hot, melt those caramels with cream till they're smooth as silk. Now for the fun bit – drop chocolate chips all over your warm base, pour that yummy caramel on top, and scatter leftover oat mix over everything. After another short oven visit, you'll have to wait for cooling – it's tough but so worth it.
 Save
Save
Keeping Your Bars Tasty
These goodies stay yummy for a week when you store them in a sealed container at room temp, though at my place they're usually gone in days. If you want to plan ahead, you can freeze them for up to 4 months. Just set them on the counter overnight when you want to eat them.
My Top Baking Shortcuts
Don't rush cutting these treats – let them cool all the way first. Sometimes I stick them in the fridge to cool faster. Make sure you use old fashioned oats only, as quick oats won't give you that great texture you want. When I'm making these for a big group, I double everything and use a larger pan. Lately I've been adding a tiny bit of sea salt to the caramel and it really takes the flavor up a notch.
Frequently Asked Questions About Recipes
- → Why is a long cooldown necessary?
- The 4 hours are essential to let the caramel completely set. Without enough time, slicing the bars neatly gets tricky.
- → Which caramels should I pick?
- Werther’s Soft Caramels are great for baking. Kraft Soft Caramels or Caramel Bits also work just fine.
- → How long will these bars last?
- They stay fresh in an airtight container up to a week or in the freezer for as long as 4 months.
- → What’s the purpose of foil lining?
- Foil makes cleanup easier and stops the sticky caramel from leaving a mess or sticking to the pan.
- → Can quick oats be a substitute?
- No, stick to old-fashioned oats for the perfect chewy texture. Quick oats turn the bars too soft and mushy.