
 Save
Save
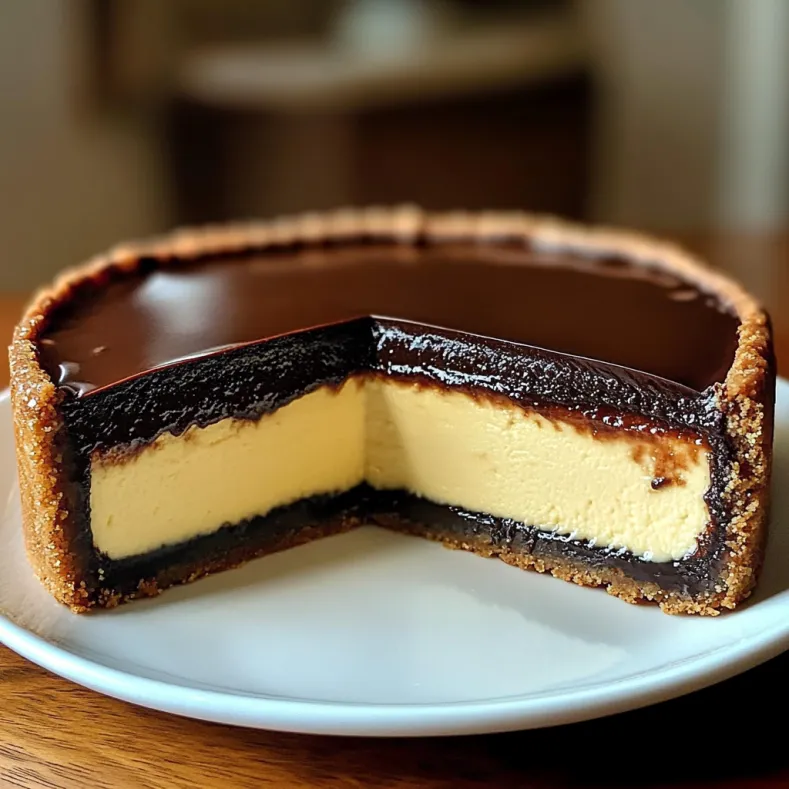
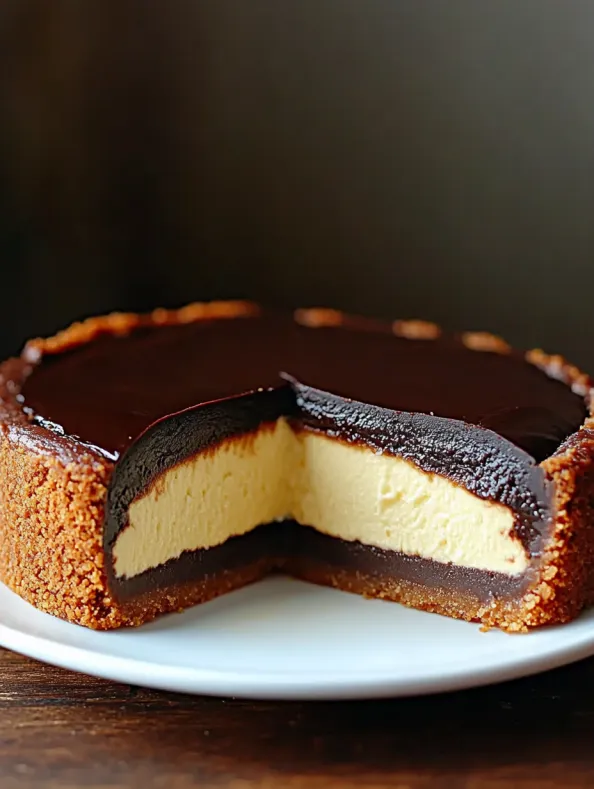
This Boston Cream Pie Cheesecake-Cake combines two beloved desserts into one spectacular treat that has become my ultimate crowd-pleaser for dinner parties. The perfect marriage of silky cheesecake and classic Boston cream pie creates an impressive dessert that tastes as magnificent as it looks.
I first created this fusion dessert for my husband's birthday when he couldn't decide between cheesecake and Boston cream pie. The look on his face when he took that first bite told me this recipe would become a permanent part of our family celebrations.
Ingredients
- Graham cracker crumbs: create the perfect textural contrast and buttery base for our luxurious layers
- Unsalted butter: binds the crust together while allowing you to control the salt content
- Cream cheese: use full fat for the richest texture and always bring to room temperature before mixing
- Sugar: balances the tanginess of the cream cheese and sweetens each layer appropriately
- Vanilla extract: adds warmth and depth to both the cheesecake and custard layers
- Whole milk: creates a rich custard filling with perfect consistency
- Egg yolks: provide richness and help thicken the custard naturally
- Cornstarch: ensures your custard sets with the perfect sliceable yet creamy texture
- Chocolate chips: high quality semisweet or dark work best for an indulgent ganache
- Heavy cream: creates a silky smooth chocolate topping that sets beautifully
Step-by-Step Instructions
- Prepare the Crust:
- Mix graham cracker crumbs with melted butter until the texture resembles wet sand. Press this mixture firmly into the bottom of a springform pan using the back of a measuring cup to create an even layer. The crust should come about an inch up the sides of the pan for stability.
- Create the Cheesecake Layer:
- Beat room temperature cream cheese with sugar until completely smooth and no lumps remain about 3 minutes on medium speed. Add eggs one at a time allowing each to incorporate fully before adding the next. Stir in vanilla extract just until combined then pour this velvety mixture over your prepared crust.
- Bake to Perfection:
- Place your springform pan on a baking sheet to catch any potential leaks and bake at 325°F for 50 to 60 minutes. The cheesecake is done when the edges are set but the center still has a slight jiggle similar to set gelatin. Allow to cool completely before adding the custard layer.
- Craft the Custard Layer:
- In a medium saucepan whisk together milk egg yolks cornstarch and sugar until completely combined. Cook over medium heat whisking constantly until the mixture thickens enough to coat the back of a spoon about 5 to 7 minutes. Remove from heat and let cool slightly before pouring over the completely cooled cheesecake layer.
- Create the Chocolate Ganache:
- Heat heavy cream in a small saucepan just until it begins to simmer with small bubbles around the edge do not boil. Pour this hot cream over chocolate chips in a heat safe bowl and let sit undisturbed for about 2 minutes. Then gently stir until completely smooth and glossy. Allow to cool slightly but remain pourable.
- Assemble and Chill:
- Pour the slightly cooled ganache over the custard layer allowing it to spread naturally for a professional finish. Refrigerate the entire dessert for at least 4 hours preferably overnight to allow all layers to set completely and flavors to meld together.
 Save
Save
This dessert holds a special place in my heart not just for its incredible flavor but because my grandmother used to make Boston cream pie for every family birthday. Combining it with cheesecake elevates her traditional recipe into something extraordinary that still carries those cherished memories.
Perfect Slicing Technique
Achieving clean beautiful slices of this multilayered dessert requires a bit of technique. Run a thin sharp knife under hot water and wipe dry between each cut. This prevents the creamy layers from sticking to the knife and creates picture perfect slices every time. I learned this method from a pastry chef friend and it transformed how I serve layered desserts.
Storage and Freshness
This cheesecake keeps beautifully in the refrigerator for up to 5 days when stored properly. Place it in an airtight container or cover tightly with plastic wrap to prevent it from absorbing other flavors. The flavor actually improves after the first day as the components meld together making this an ideal make ahead dessert for busy entertaining schedules.
Seasonal Variations
Transform this classic recipe throughout the year with seasonal touches. In summer top with fresh berries for a pop of color and fruity brightness. During fall a drizzle of caramel and sprinkle of sea salt creates a sophisticated salted caramel version. For winter holidays add peppermint extract to the ganache and sprinkle with crushed candy canes for a festive adaptation that never fails to impress.
Frequently Asked Questions About Recipes
- → Can I use a premade crust for this cheesecake?
Yes, a premade graham cracker crust can be used, but ensure it's large enough to hold the filling and baked layers.
- → How do I prevent cracking in the cheesecake layer?
Bake the cheesecake in a water bath or place a pan of water on a lower oven shelf to create steam and help prevent cracks.
- → What is the best way to melt chocolate for the ganache?
Heat heavy cream until it's steaming, then pour it over the chocolate chips. Stir until smooth for a perfect ganache texture.
- → Can I make this dessert ahead of time?
Yes, it's best to make it a day ahead, as chilling for several hours enhances the texture and flavor layers.
- → What toppings can I add for variation?
Consider adding whipped cream, fresh berries, or even edible gold flakes for a decorative and flavorful twist.