
 Save
Save
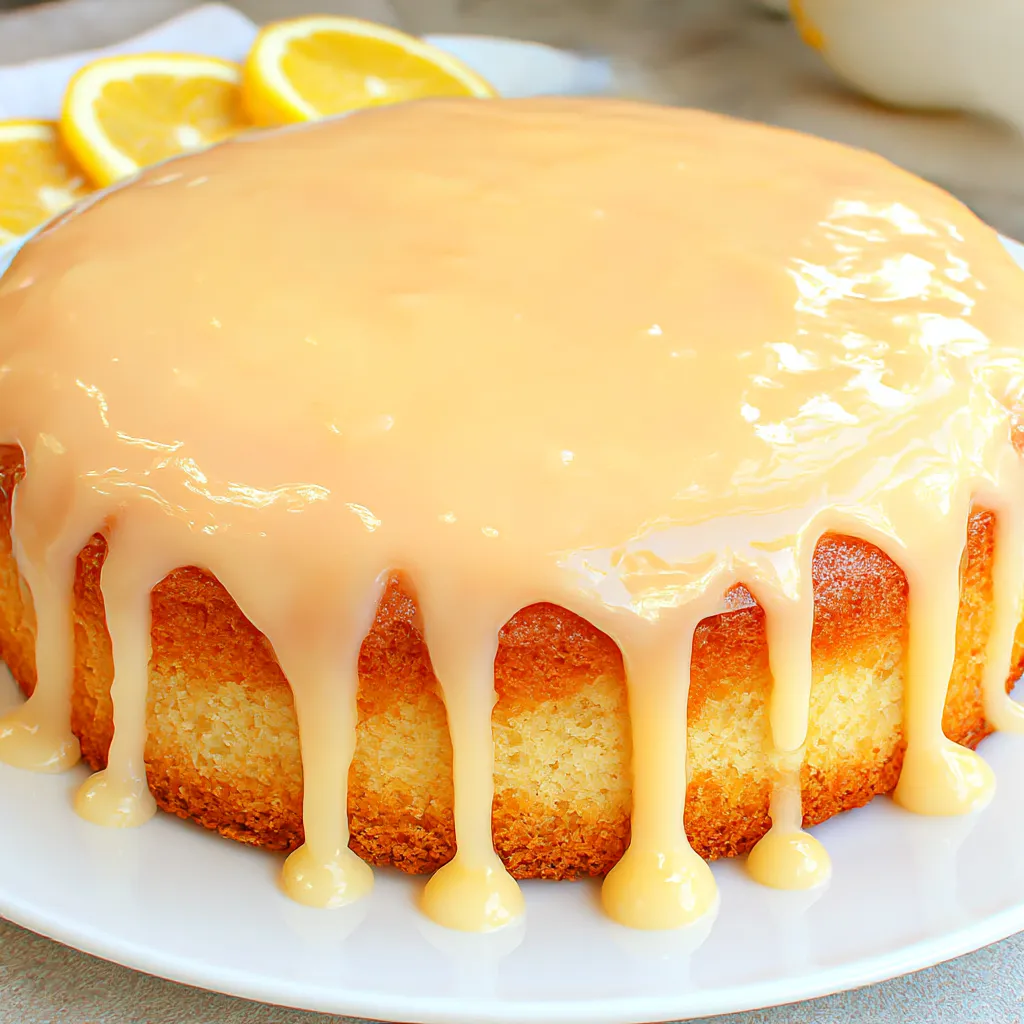
This elegant white mirror glaze transforms any cake into a glossy showstopper that looks almost too pretty to eat. The soft shine makes a simple dessert look like bakery art. I still remember the first time I poured this luscious sheen over a homemade cake and everyone thought I had bought it from a gourmet shop.
When I first tried this recipe for my daughter’s birthday I was nervous it would not set properly but it turned out so well everyone asked for the secret.
Ingredients
- White chocolate: Brings creamy sweetness and the signature glossy look Choose high quality bars for the smoothest blend
- Granulated sugar: Adds structure and sweetness Go for extra fine sugar so it dissolves easily
- Water: Essential for blooming the gelatin and making sugar syrup Use filtered water for best taste
- Heavy cream: Gives the glaze its luscious richness and a smooth texture Opt for full fat cream
- Gelatin powder: Makes the glaze set to a perfect mirror finish Use fresh unflavored gelatin for best results
- Food coloring (optional): Allows you to customize the look of your cake Gel colors blend without diluting the glaze
Step-by-Step Instructions
- Prepare the Gelatin:
- Sprinkle gelatin powder over cool water in a small bowl and let it sit for several minutes until fully bloomed and spongy This step softens the gelatin and ensures a streak free glaze
- Make the Sugar Syrup:
- Combine granulated sugar and water in a medium saucepan Stir constantly as you heat over medium until all sugar dissolves Bring to a light boil then take the pan off the heat
- Melt the Chocolate:
- Place your white chocolate in a heatproof bowl Gently melt it over a double boiler or with short intervals in the microwave Stir until it is completely smooth with no lumps
- Combine Ingredients:
- Add the softened gelatin directly to the hot sugar syrup Whisk swiftly until the gelatin melts fully Pour this over the melted chocolate and stir until the whole mix is even and silky
- Blend the Mixture:
- Pour the chocolate gelatin mix into a blender or food processor Blend on medium until completely smooth and glossy This step is key for that mirrored look
- Strain the Mixture:
- Pass the blended glaze through a fine mesh strainer into a clean bowl This removes any remaining lumps or air bubbles for a flawless surface
- Cool the Glaze:
- Let the glaze sit until it cools down to around ninety degrees Fahrenheit This is the best temperature for pouring so it coats in a glossy layer and does not melt your cake
- Color Optional:
- If you want a specific color add a few drops of gel food coloring and stir until evenly blended Gel coloring keeps the glaze shiny and smooth
- Glaze the Cake:
- Place your cake on a cooling rack over a tray Slowly pour the glaze from the middle outward covering all sides completely
- Smooth the Surface:
- Quickly use a spatula to gently move glaze over bare spots so every inch gets shiny Do this before the glaze starts to set
- Allow to Set:
- Leave the cake at room temperature for ten to fifteen minutes so the glaze firms up to the touch
- Serve:
- Transfer your beautifully glazed cake to a serving plate and enjoy the oohs and aahs
 Save
Save
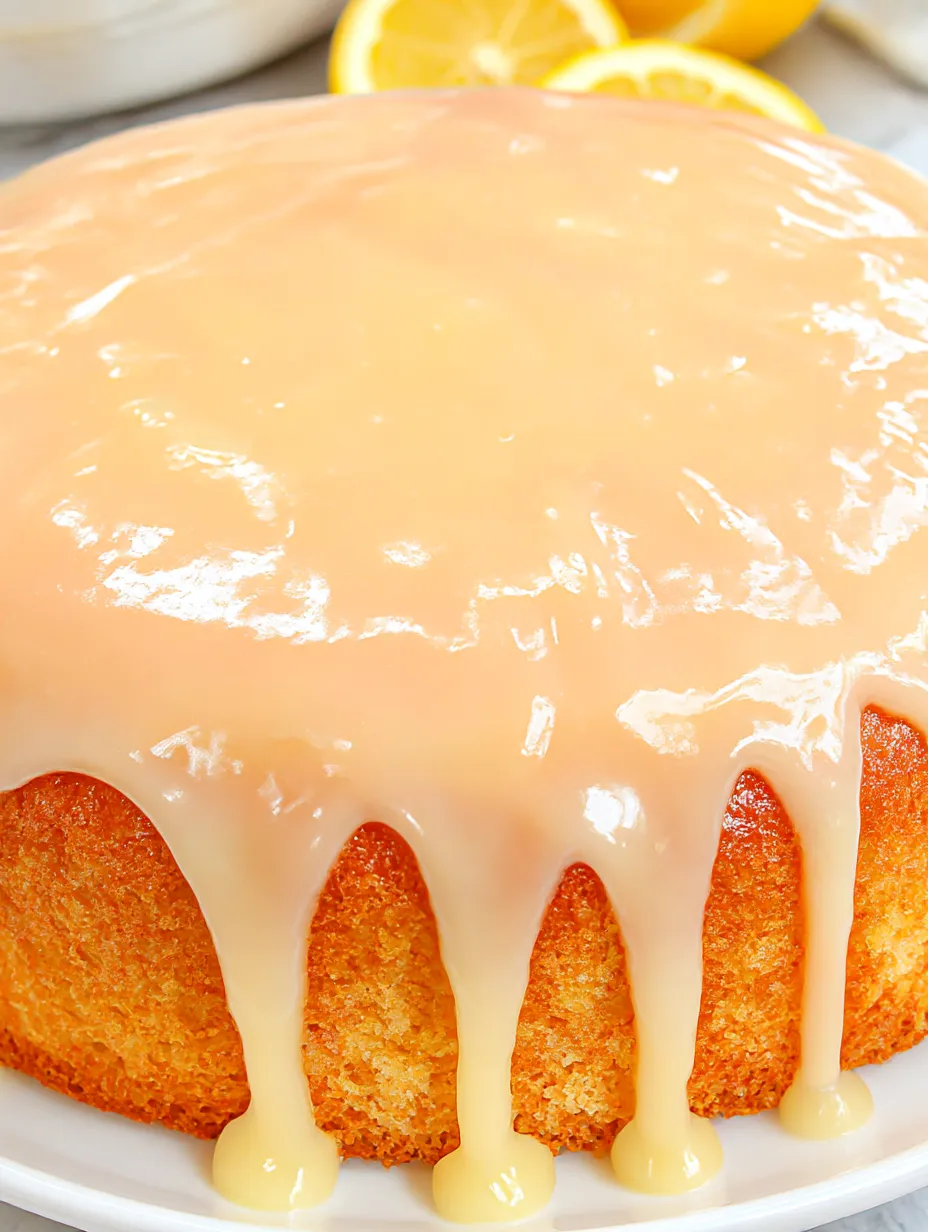
My favorite part is how the white chocolate makes both the shine and the flavor stand out It always reminds me of decorating cakes for holiday parties with my sister laughing at our wobbly first attempts
Storage Tips
Store finished cake uncovered in the fridge for up to three days The glaze protects the cake from drying out If you have leftover glaze keep it in an airtight container in the fridge Rewarm gently before using again
Ingredient Substitutions
You can use good quality white candy melts though the taste is less rich For the cream coconut cream works for a dairy free version Always stick with unflavored powdered gelatin for setting
Serving Suggestions
Serve already chilled for best shine and a clean slicing edge This glaze looks especially pretty over round cakes but is stunning on mini cakes or cupcake domes Add edible pearls or a gold leaf finish for extra glamour
Cultural and Historical Note
Mirror glazes rose to popularity thanks to French pastry chefs who wanted every dessert to look picturesque Instagram trends made the technique famous around the world Now you can recreate French patisserie looks right at home
Frequently Asked Questions About Recipes
- → Why does the mirror glaze need gelatin?
Gelatin gives the glaze its signature set and glossy finish by helping it hold its smooth texture once poured.
- → Can I color the white mirror glaze?
Yes, gel food coloring can be added for bright, vibrant colors without affecting the glaze’s consistency.
- → How do I avoid bubbles in the glaze?
Blend thoroughly and strain the glaze through a fine sieve to ensure a perfectly smooth, bubble-free surface.
- → What is the best temperature for pouring mirror glaze?
For the shiniest finish, pour the glaze at around 90°F (32°C) over a chilled cake for even setting.
- → What is the best way to apply mirror glaze?
Place the cake on a rack over a tray, pour glaze from the center outward, and smooth quickly with a spatula.