
 Save
Save
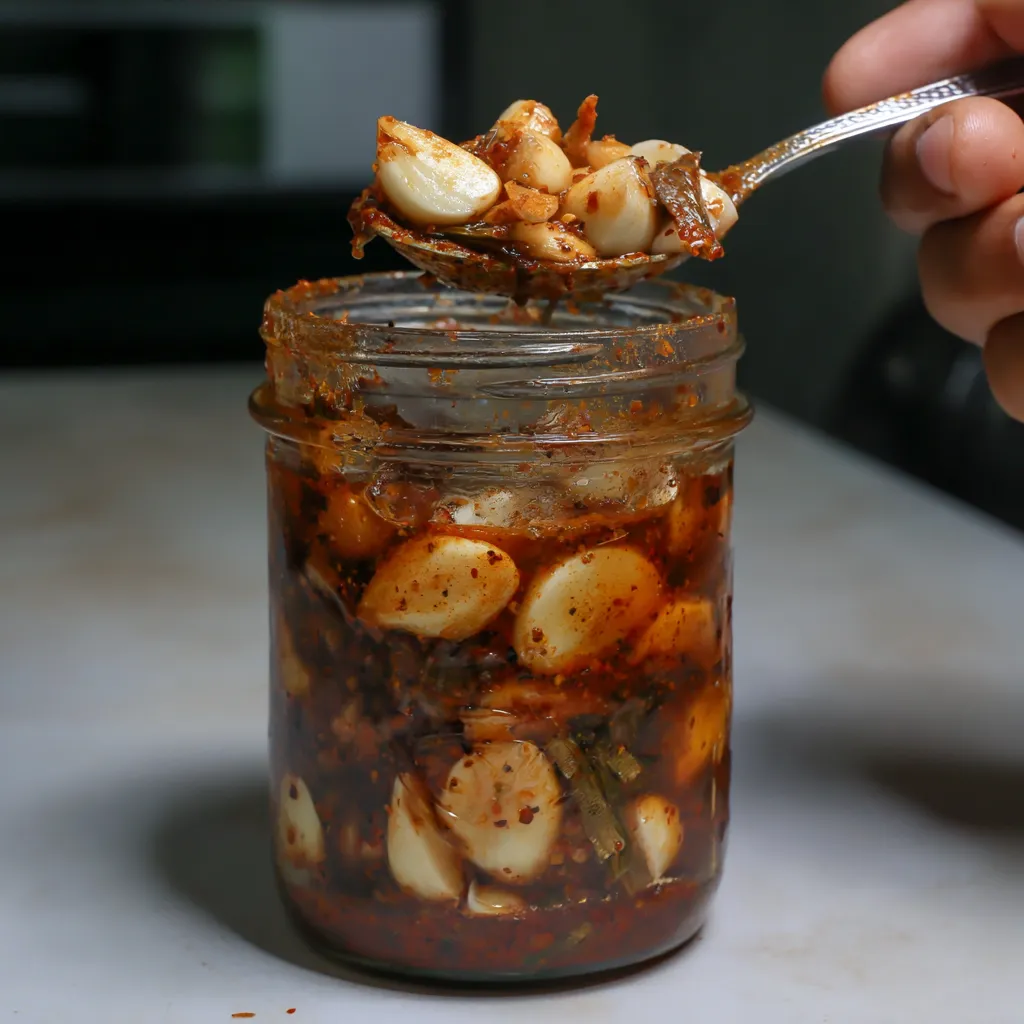
Pickled garlic is one of those kitchen projects that completely transforms a humble ingredient into a craveable snack or zesty pantry staple. You do not need to fuss with canning or fancy equipment for this recipe. Fresh garlic gets a tangy kick from vinegar brine in just a few minutes of hands-on prep. You can keep it classic or try a fiery spicy remix to wake up your sandwiches, salads, and noodle bowls. I started making pickled garlic to cut back on food waste but now my husband adds it to almost everything when he sees a jar in the fridge.
After my first batch disappeared in a week I knew I had to double up from then on because it disappears fast at our house especially the spicy version I cannot keep around long
Ingredients
- Garlic cloves: Use the freshest firmest garlic bulbs you can find Avoid any soft or sprouting cloves for best texture
- Fresh dill or dried dill: Adds herby brightness I recommend fresh for extra flavor but dried will work if needed
- White vinegar or apple cider vinegar: Vinegar brings tanginess and preserves the garlic Any high-quality vinegar works as long as it is not too sweet or dark
- Filtered water: Use filtered not tap water for the clearest pickle brine
- Kosher salt or pickling salt: Salt draws moisture from the garlic for crispness and preserves it Make sure the salt is additive free for clean flavor
- Coriander seeds: Give a citrusy warmth to contrast the sharp garlic Look for seeds with strong aroma not dusty or dull ones
- Honey or maple syrup: Optional for gentle sweetness Use good quality local or pure varieties for best flavor
- For spicy version: Sriracha or other chili sauce plus chili powder and dried thyme turns up the heat and adds layers of spice and aroma
Step-by-Step Instructions
- Sterilize the Jars:
- Wash your jars thoroughly in hot soapy water Rinse well then place in a 325F oven for ten minutes to dry out and sterilize The jars should be still warm when you fill them
- Peel the Garlic:
- Use only fresh garlic cloves Separate from bulbs and peel completely Remove any bruised spots or green shoots for the cleanest taste You can break up the bulbs and press down with the flat side of a knife to make peeling easier
- Make the Brine:
- In a small saucepan combine vinegar water and salt Heat over medium until the salt has completely dissolved but do not boil Remove from the heat then stir in dill coriander and honey if using Let cool for a minute so flavors blend
- Pack the Jars:
- Fill the warm jars with peeled garlic cloves Pack tightly but do not crush Arrange the dill and coriander evenly Pour the hot brine over the garlic making sure to cover completely Leave a half inch of space at the top
- Seal and Cool:
- Screw on the jar lids Let cool at room temperature for about an hour then refrigerate Allow the garlic to pickle for at least one week for best results letting it sit two or three weeks develops even mellower flavor
- Make the Spicy Remix:
- To make spicy pickled garlic add the plain pickled garlic to a clean jar Combine with sriracha chili powder thyme and a bit more honey if you like Mix thoroughly and refrigerate Eat within five to seven days for best results
 Save
Save
Storage Tips
Plain pickled garlic stays fresh and crisp for up to three months in the refrigerator Always use a clean nonmetallic spoon to remove cloves to keep the brine clear For the spicy version try to finish it within a week for the most vibrant flavor and crunch as the spice mixture can soften the garlic if left too long It does not freeze well so make only what you will use in a month or two
Ingredient Substitutions
Try apple cider vinegar for a slightly sweeter flavor or even rice vinegar for an Asian twist Cayenne or gochugaru can replace chili powder in the spicy remix If you cannot find coriander seeds try mustard seeds or just skip for a simple base If you like a touch of sweetness maple syrup swaps easily for honey for vegan pickles
Serving Suggestions
Layer pickled garlic onto sandwiches toss into salads or chop and add into creamy dressings for extra zip A spoonful gives grilled meats a fresh bite and the spicy one is a bold topping for ramen noodles It also adds punch to potato salad or adds visual interest to a cheese board
Cultural and Historical Context
Pickled garlic is a staple in both European and Asian pantries ranging from the sweet mellow Italian style to fiery Korean kimchi accompaniments Using vinegar instead of fermentation gives quick results without special tools The popularity of spicy pickled garlic on social media has brought this old preserved food back into modern kitchens
Frequently Asked Questions About Recipes
- → How long does pickled garlic take to be ready?
Let pickled garlic sit in the fridge for at least one week for full flavor. Waiting 2–3 weeks yields a comfortably mellow clove.
- → Is canning required for this method?
No, this pickled garlic is for refrigerator storage only. It’s simple and requires no water bath or pressure canner.
- → What kind of vinegar works best?
White vinegar is classic, but apple cider vinegar or other options can be used for different flavor profiles.
- → Can I make a spicy version?
Yes! Mix pickled garlic with chili sauce and spices for a bold, fiery twist. Refrigerate and enjoy within 5–7 days.
- → How should pickled garlic be stored?
Always refrigerate pickled garlic. The plain version lasts up to three months, while the spicy variant is best eaten within a week.