
 Save
Save
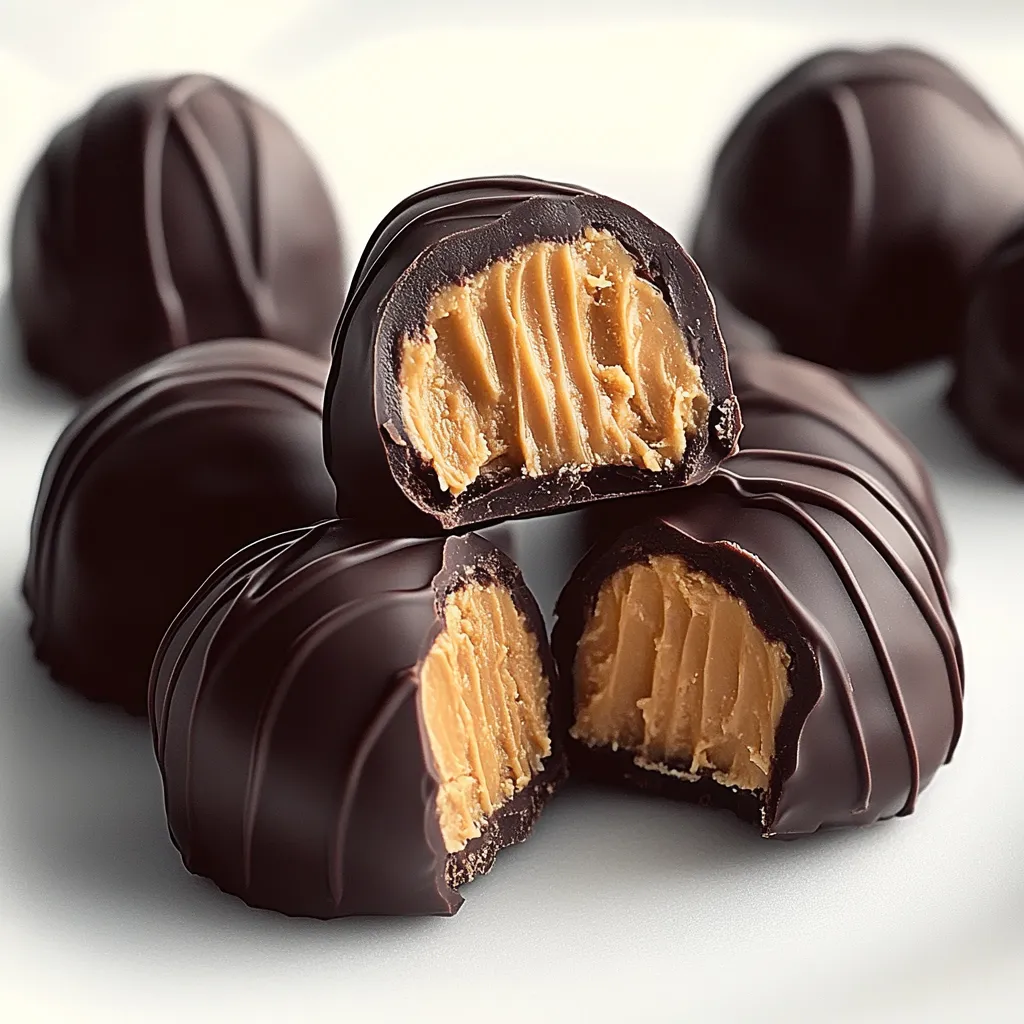
This homemade peanut butter truffle recipe transforms simple ingredients into decadent, melt-in-your-mouth candies that rival anything from a fancy chocolate shop. The combination of creamy peanut butter enrobed in rich chocolate creates an irresistible treat that disappears quickly whenever I make them.
I first made these truffles for a holiday cookie exchange when I ran out of time to bake. They were such a hit that several guests asked for the recipe before leaving, and now they're requested at every family gathering.
Ingredients
Step-by-Step Instructions
- Create the peanut butter mixture:
- Combine peanut butter, softened butter, and vanilla in a large bowl. Beat vigorously until completely smooth and fully incorporated. The mixture should look uniform with no streaks of butter visible. This foundational step ensures your truffles will have the proper creamy consistency.
- Incorporate the powdered sugar:
- Add powdered sugar in three batches, mixing thoroughly between additions. The mixture will gradually transform from glossy and soft to a firmer dough consistency. When properly mixed, you should be able to roll a small amount between your fingers without it sticking excessively. If too sticky, add additional powdered sugar one tablespoon at a time.
- Shape the truffle balls:
- Scoop approximately one tablespoon portions of the peanut butter mixture and roll between your palms to create uniform balls. Apply gentle pressure to keep the balls compact without squeezing too hard. Place each formed ball on a parchment-lined baking sheet, spacing them at least one inch apart to prevent sticking together.
- Chill the formed truffles:
- Place the entire baking sheet in the freezer for 30 minutes. This crucial chilling time firms the peanut butter balls enough to withstand the warm chocolate coating. The truffles should feel firm to the touch but not completely frozen solid.
- Prepare the chocolate coating:
- Chop chocolate into small, even pieces to ensure smooth melting. Combine with coconut oil in a microwave-safe bowl. Heat in 30-second intervals at 50% power, stirring thoroughly between each interval. Continue until completely melted and glossy. The perfect dipping chocolate should flow smoothly from a spoon without appearing grainy.
- Dip and coat the truffles:
- Working with one chilled truffle at a time, place it on a fork or skewer and lower into the melted chocolate. Gently rotate to coat completely, then lift and tap the fork against the bowl edge to remove excess chocolate. Use another fork to carefully slide the truffle onto the parchment paper.
- Add garnishes and allow to set:
- While the chocolate is still wet, sprinkle your chosen toppings onto the truffles. Work quickly as the chilled truffles will cause the chocolate to begin setting immediately. Return the coated truffles to the refrigerator for at least 30 minutes to completely set the chocolate.
These truffles remind me of the peanut butter balls my grandmother would make every Christmas. She always insisted on using the highest quality peanut butter available, claiming it made all the difference in the final taste. I follow her advice to this day, and while these truffles cost more to make than buying commercial candies, the superior flavor makes them worth every penny.
Storage Solutions
The finished truffles keep beautifully in an airtight container in the refrigerator for up to two weeks. For best texture, remove them from the refrigerator about 10 minutes before serving to take the chill off. If you need to store them longer, these truffles freeze exceptionally well for up to three months. Place them in a single layer in a container with parchment between layers to prevent sticking. When ready to enjoy, thaw them overnight in the refrigerator rather than at room temperature to prevent condensation from forming on the chocolate coating.
Creative Variations
While the classic recipe is divine on its own, these truffles welcome creative adaptations. Try using crunchy peanut butter instead of creamy for added texture. For a more complex flavor profile, incorporate 1/4 teaspoon of cinnamon or a pinch of cayenne pepper into the peanut butter mixture. White chocolate lovers can reverse the recipe by using white chocolate for the coating and adding cocoa powder to the peanut butter filling. For special occasions, roll the freshly dipped truffles in gold or colored sprinkles for a festive appearance.
Serving Suggestions
These peanut butter truffles make an elegant addition to any dessert platter. Pair them with fresh berries and small brownie bites for a stunning dessert board. For an elevated after-dinner treat, serve one or two truffles alongside a small glass of port wine or bourbon. The richness of the truffles complements the complex flavors of these spirits beautifully. During the holidays, place individual truffles in mini cupcake liners and arrange them in decorative tins for heartfelt homemade gifts that friends and family will treasure.
Frequently Asked Questions About Recipes
- → How can I make a dairy-free version?
To make this dish dairy-free, use vegan chocolate and replace unsalted butter with a dairy-free alternative.
- → Can I use crunchy peanut butter instead of creamy?
Absolutely! Crunchy peanut butter adds a delightful texture to the filling.
- → How do I store the finished truffles?
Store the truffles in an airtight container in the fridge for up to 2 weeks or freeze for up to 3 months.
- → What can I use instead of coconut oil for the chocolate coating?
Vegetable shortening is a great alternative to coconut oil for a smoother chocolate coating.
- → How can I make the truffles extra decorative?
Drizzle melted white chocolate over the truffles, or garnish with sea salt, crushed peanuts, or festive sprinkles.