
 Save
Save
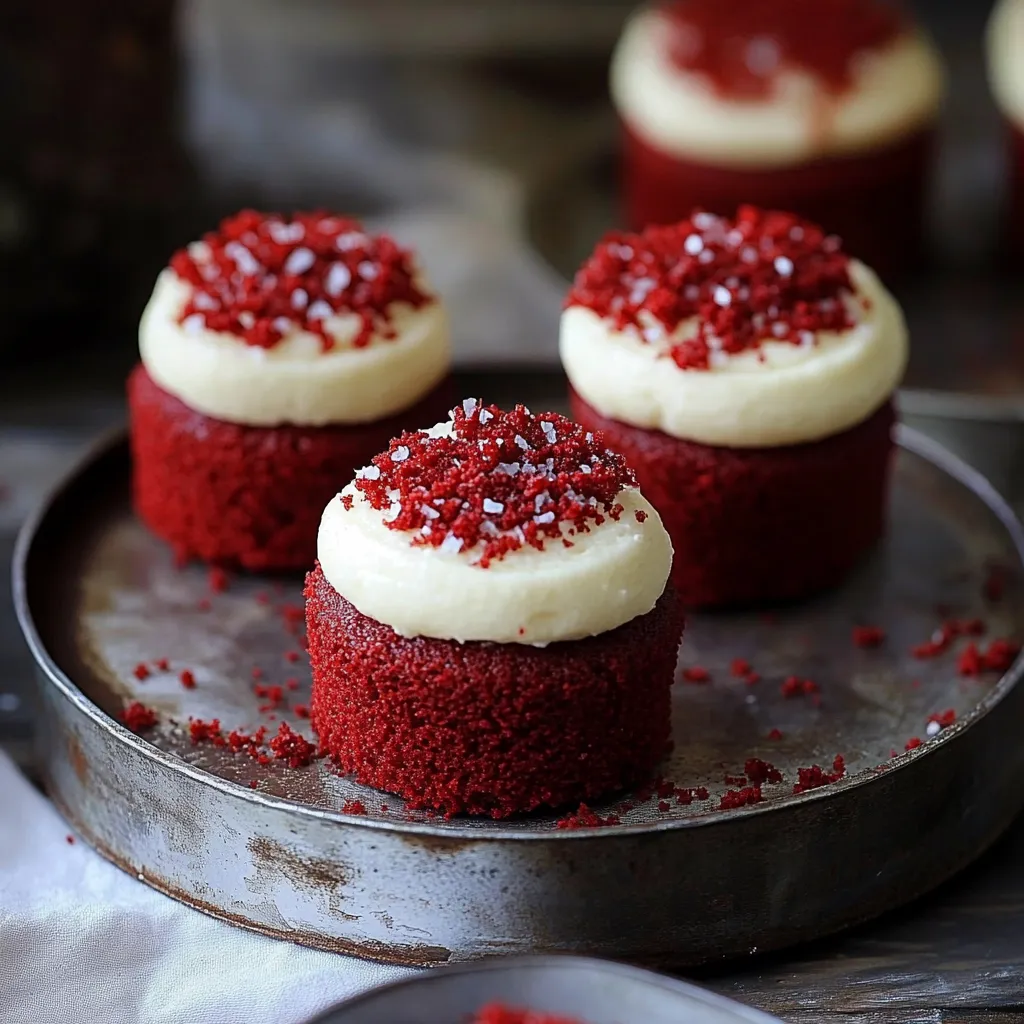
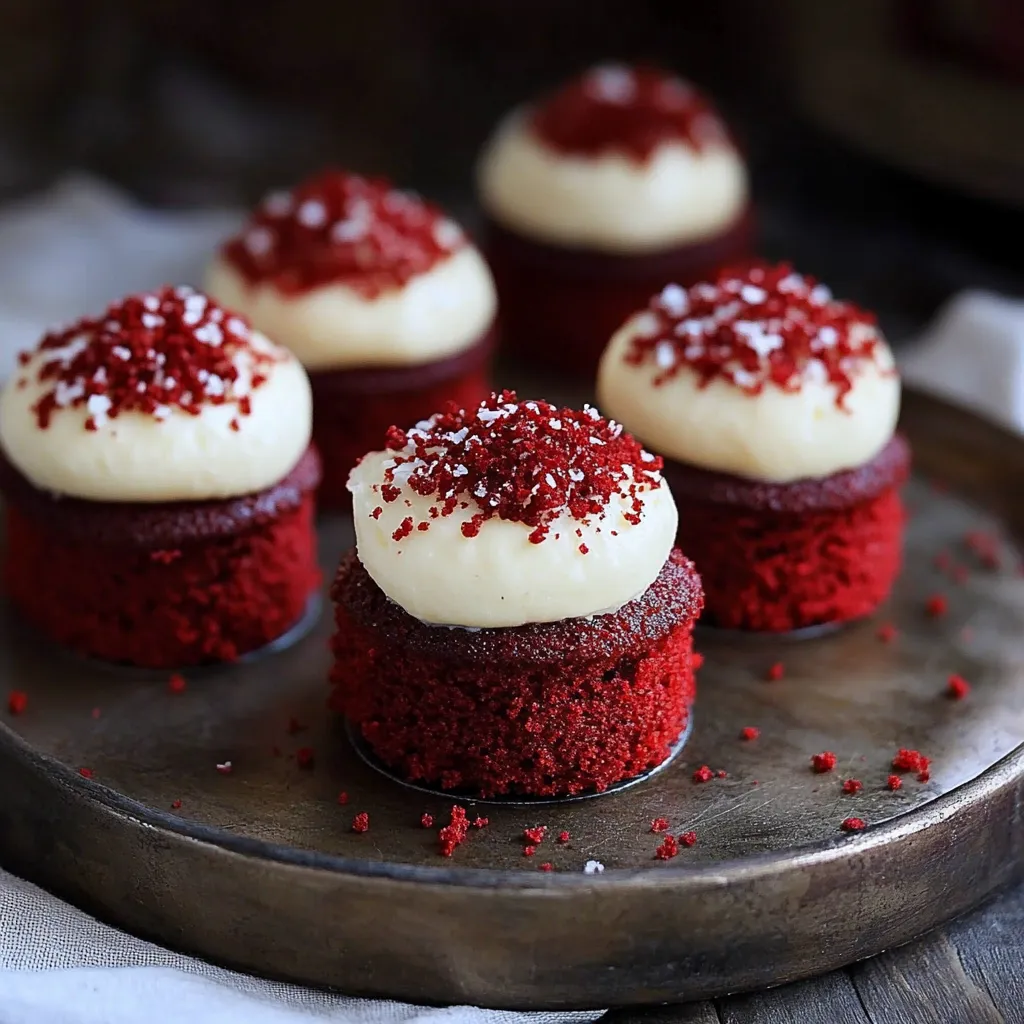
This moist mini red velvet cake recipe creates the perfect bite-sized treat for Valentine's Day or any special occasion. With their signature crimson color and velvety texture paired with tangy cream cheese frosting, these little cakes deliver big flavor in an adorable package.
I first made these for a Valentine's Day dinner at home when restaurant reservations fell through. What started as a backup plan became our favorite tradition - my partner now requests these instead of a fancy night out!
Ingredients
- Unsalted butter: Provides richness and structure, ensure it's room temperature for proper creaming
- Caster sugar: Finer than granulated for a smoother texture in these delicate cakes
- Medium eggs: Bind ingredients and create structure, room temperature works best
- Red food coloring: Creates that distinctive color, gel colors provide vibrant results without diluting batter
- Vanilla extract: Enhances flavor complexity and balances the cocoa
- Cocoa powder: The signature flavor component of red velvet, use Dutch processed for best results
- Buttermilk: Creates tenderness and reacts with leavening agents for perfect rise
- Plain flour: Provides structure without being too heavy, sift for best texture
- Baking powder and bicarbonate of soda: These leavening agents work together for the perfect rise
- White wine vinegar: Activates the bicarbonate for proper leavening and enhances the red color
- Full fat cream cheese: Essential for proper frosting texture, must be full fat Philadelphia style
- Icing sugar: Creates sweetness and structure in frosting without grittiness
Step-by-Step Instructions
- Prepare the oven:
- Preheat your oven to 180°C or 160°C fan and prepare a 12-hole mini cake tin with liners or by greasing thoroughly. Proper preheating ensures even baking throughout.
- Create the base mixture:
- Beat the room temperature butter and caster sugar together for at least 3 minutes until truly light and fluffy. The mixture should turn pale and increase in volume. This incorporation of air is crucial for tender cakes.
- Add wet ingredients:
- Incorporate eggs one at a time, followed by vanilla and red food coloring. Beat until completely homogeneous with no streaks. The batter should be smooth and vibrant red at this stage.
- Introduce cocoa:
- Mix in the cocoa powder until fully incorporated. Scrape down the sides and bottom of the bowl to ensure no pockets of dry ingredients remain. The batter will deepen to that classic burgundy red velvet color.
- Combine remaining ingredients:
- Add the flour, buttermilk, baking powder, bicarbonate of soda and white wine vinegar. Beat on low speed just until combined. Overmixing at this stage can lead to tough cakes, so stop as soon as the last streaks of flour disappear.
- Bake to perfection:
- Divide the batter evenly between the 12 mini cake wells, filling each about 2/3 full. Bake for exactly 20 minutes before checking with a skewer. The tops should spring back when lightly touched.
- Prepare frosting:
- Beat room temperature butter and icing sugar for a full 5 minutes until extremely light and fluffy. This extended creaming creates a stable base for the cream cheese to be added without becoming runny.
- Add cream cheese:
- Add the drained, cold cream cheese and beat for exactly one minute. Overmixing after adding cream cheese can make the frosting loose and difficult to pipe, so time this carefully.
- Finish and flavor:
- Add vanilla and beat for one final minute. Scrape the bowl thoroughly and give a final mix if needed. The finished frosting should hold stiff peaks and spread smoothly.
- Assemble mini cakes:
- Split each cooled cake horizontally. Pipe a generous layer of frosting on the bottom half, add the top, and finish with a decorative swirl of frosting. The contrast between the deep red cake and white frosting creates stunning visual appeal.
 Save
Save
The buttermilk is absolutely my favorite ingredient in these cakes. My grandmother always kept a carton in her fridge specifically for red velvet cake, and that tangy, tender crumb brings back memories of baking with her every time I make these.
Perfect Storage Solutions
These mini red velvet cakes maintain their moisture when stored properly. Keep them in an airtight container in the refrigerator for up to three days. Allow them to come to room temperature for about 30 minutes before serving for the best flavor and texture. The cream cheese frosting actually protects the cake from drying out, creating a natural seal.
Smart Substitutions
No buttermilk? No problem. Make your own by adding 1.5 teaspoons of lemon juice to 175ml of whole milk and letting it sit for 5 minutes. For a dairy-free version, substitute plant-based milk with the same acid technique. The cocoa powder can be replaced with carob powder for a caffeine-free version, though the flavor profile will be slightly different.
Serving Suggestions
These mini cakes shine when paired with fresh berries like raspberries or strawberries, which complement both the color and flavor profile. A light dusting of cocoa powder or a small chocolate decoration takes them to the next level for special occasions. For an extra indulgent dessert, serve alongside a small scoop of vanilla bean ice cream or a shot of good espresso.
The History Behind Red Velvet
Red velvet cake originated during the Victorian era when cocoa was processed differently, reacting with acidic ingredients to create a reddish hue naturally. The modern vibrant red comes from food coloring, but the traditional flavor profile remains. This recipe honors that classic combination while updating it into a more portable, celebration-friendly format.
Frequently Asked Questions About Recipes
- → How do I achieve the vivid red color?
Use high-quality red food coloring, such as gel food color, for a vibrant red hue. Avoid liquid food coloring, as it might affect the texture of the batter.
- → Can I make these cupcakes without buttermilk?
Yes, you can make your own buttermilk substitute by mixing 175ml full-fat milk with 1.5 teaspoons of lemon juice and letting it sit for 5 minutes.
- → How should I store these cakes?
Store the cakes in an airtight container in the refrigerator for up to 3 days. Alternatively, they can be frozen for 3+ months.
- → What is the best way to pipe the frosting?
Use a piping bag with your preferred piping tip. Pipe the frosting onto each layer of the mini cakes, starting from the bottom, to ensure an even and decorative finish.
- → Can I decorate with other toppings?
Absolutely! Beyond cake crumbs, you can use sprinkles, edible glitter, or small chocolate decorations to personalize your cakes.