
 Save
Save
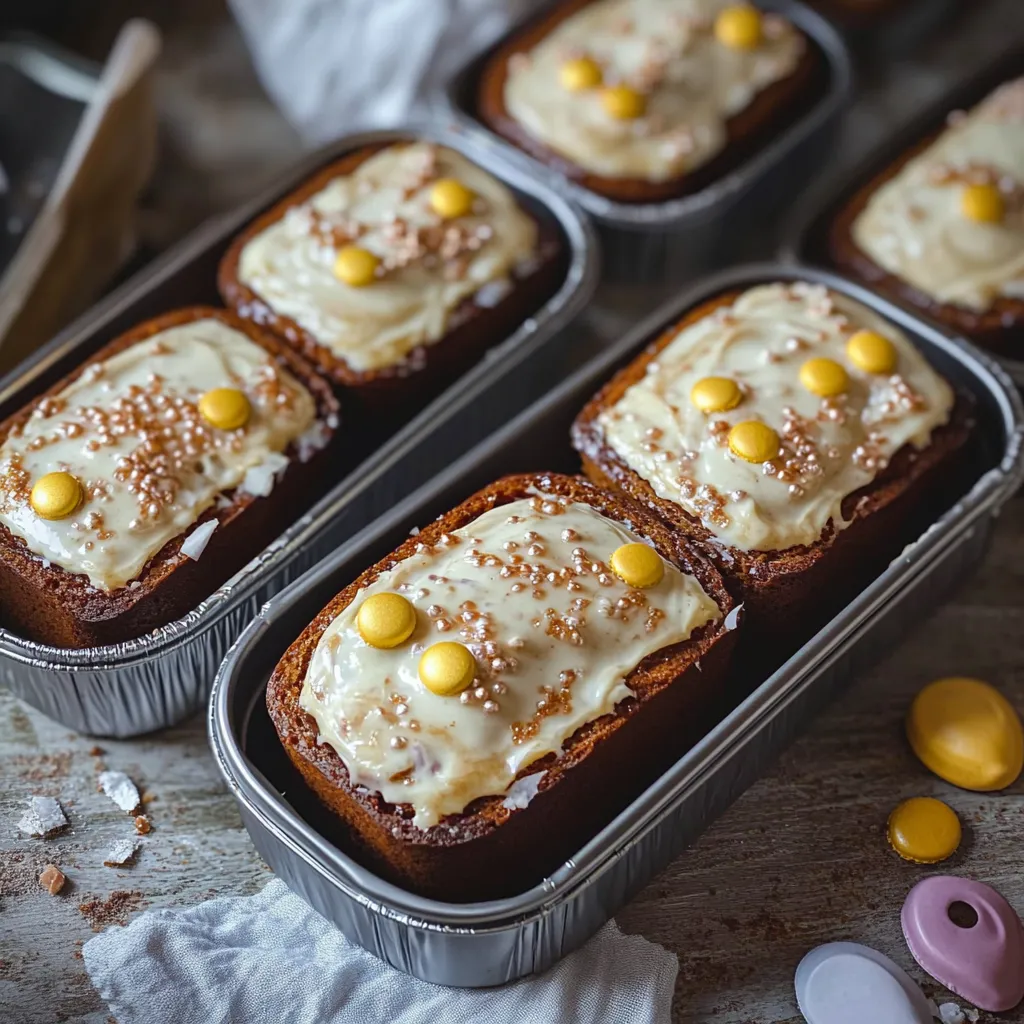
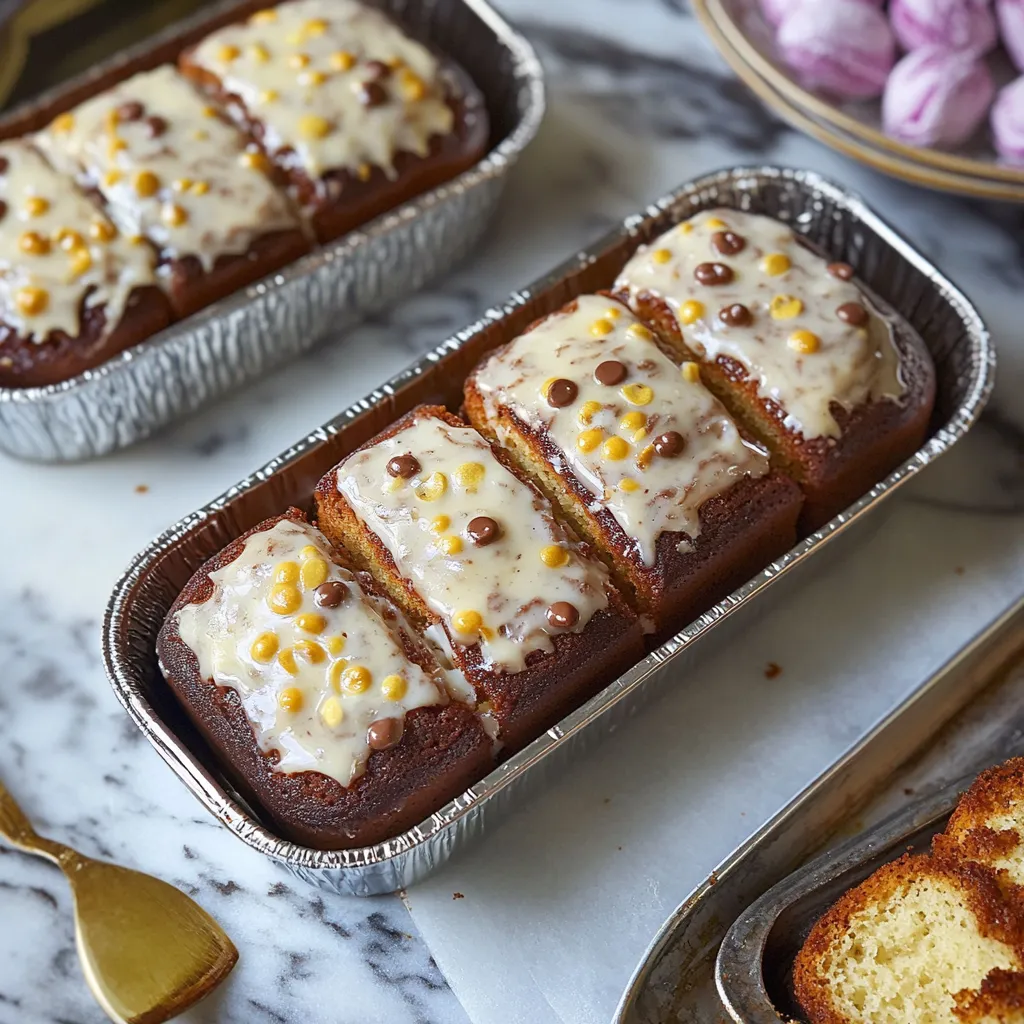
This mini loaf tin recipe transforms ordinary cake mixture into adorable single-serving treats that are perfect for gifting or displaying at parties. The versatile tins create professional-looking results with minimal effort, making them the latest must-have for home bakers looking to elevate their presentation.
I discovered these mini loaf tins while searching for unique packaging ideas for holiday baking gifts. They've completely transformed my approach to batch baking, as recipients always comment on how special it feels to receive their own individual cake.
Ingredients
- Unsalted butter: Provides richness and helps create that tender crumb we all love in a good cake
- Caster sugar: Gives the perfect sweetness while dissolving easily for a smooth batter
- Medium eggs: Bind everything together and provide structure to the cake
- Self raising flour: Ensures a consistent rise without needing to add additional leavening agents
- Vanilla extract: Enhances the flavor profile with warmth and depth
Step-by-Step Instructions
- Prepare Your Workspace:
- Preheat your oven to 180ºC or 160ºC fan and arrange your mini loaf tins on baking trays with 6 tins per tray for even heat distribution. The aluminum tins conduct heat efficiently for a perfectly even bake.
- Create The Cake Batter:
- Beat together the butter and sugar for a full 3 minutes until the mixture turns noticeably lighter in color and fluffier in texture. This incorporates air which is crucial for a light cake texture.
- Complete The Batter:
- Add the eggs, flour and vanilla to your butter mixture and combine thoroughly until you have a smooth, thick batter that drops slowly from a spoon. Be careful not to overmix as this can make your cakes tough.
- Fill The Tins:
- Transfer the mixture to a piping bag for neat filling or use spoons if preferred. Measure exactly 80 to 85g of mixture into each tin using a digital scale for perfect consistency. This precise measurement ensures each cake rises properly.
- Bake To Perfection:
- Place your trays in the preheated oven and bake for 20 minutes before checking. The cakes should be golden on top and spring back when lightly touched. A skewer inserted should come out clean.
- Cool Completely:
- Allow the cakes to cool fully in their tins before decorating. This prevents the frosting from melting and helps the cakes set properly for a better texture.
- Prepare Buttercream:
- Whip room temperature butter until extremely light and creamy before adding the icing sugar and vanilla. Continue beating for a full 5 minutes to create an exceptionally fluffy frosting.
- Decorate Your Creations:
- Pipe the buttercream onto your cooled cakes using your favorite piping tip for a professional finish. Add sprinkles or other decorations immediately so they adhere to the frosting.
 Save
Save
The mini loaf tin concept revolutionized my holiday baking routine last year. My daughter and I spent a Sunday afternoon making different flavored batches, and the joy on peoples faces when receiving their own personal cake was worth every minute in the kitchen.
Adapting Other Recipes
These versatile mini tins work wonderfully with virtually any cake or dessert batter. For standard recipes, a mixture that typically makes 12 cupcakes will fill approximately 8 mini loaf tins. Brownie and blondie batters spread nicely across 12 tins, while a standard cheesecake recipe also perfectly fills a dozen tins. The key difference lies in filling levels. Cake batters need space to rise and room for decoration, while denser treats like brownies can fill the tins higher.
Storage Solutions
These mini treats maintain their freshness remarkably well. Cakes and brownies stay delicious for 3 to 4 days when stored in an airtight container at room temperature. Cheesecakes require refrigeration but will keep beautifully for up to 3 days. For longer storage, these treats freeze exceptionally well. Simply wrap each mini loaf in plastic wrap and then aluminum foil before freezing for up to 3 months. Thaw at room temperature for a few hours when ready to enjoy.
Sustainability Tips
While these tins create charming individual servings, they also offer excellent reusability potential. After baking, wash thoroughly with warm soapy water and dry completely before using again. Beyond baking, these tins make perfect organizational tools for craft supplies, spice storage, or even seedling starters for gardening. Consider keeping a collection on hand for various kitchen and household uses rather than disposing after a single use.
Frequently Asked Questions About Recipes
- → How much cake mixture is ideal for mini tins?
Each mini loaf tin should hold about 80-85 grams of cake mixture, ensuring space for rising and decoration.
- → Can I use different types of mixtures for the tins?
Yes, brownies, blondies, and cheesecakes work well in these tins. Adjust quantities and baking times accordingly.
- → How do I store the finished cakes?
Cakes and brownies last 3-4 days at room temperature. Cheesecakes should be refrigerated and consumed within 3 days.
- → Can I freeze these mini cakes?
Yes, you can freeze the mini cakes for up to 3 months. Just store them in airtight containers or freezer bags to retain freshness.
- → What piping tips work best for decoration?
Large piping tips are ideal for creating decorative frosting swirls on the mini loaf cakes.