
 Save
Save
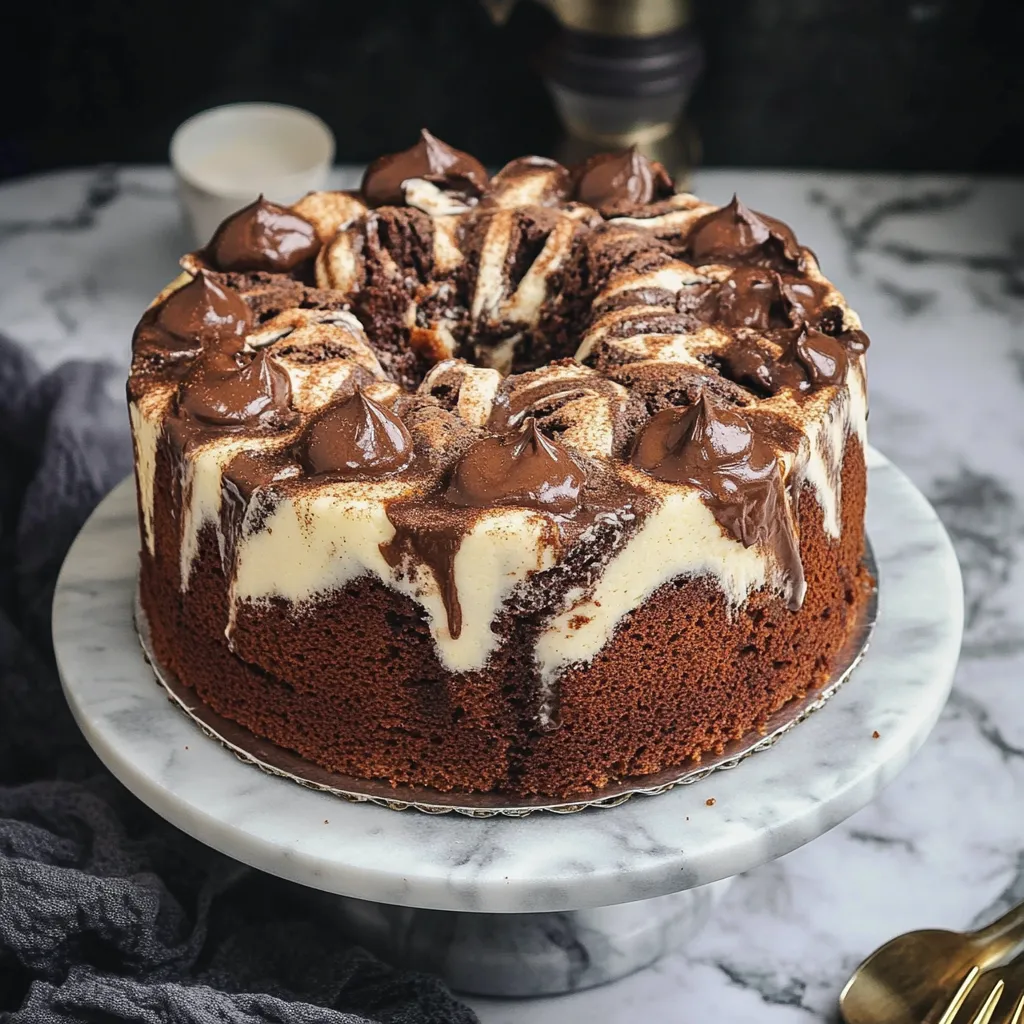
This marble cake combines classic vanilla and chocolate flavors, swirled together in perfect harmony for a stunning dessert that looks as impressive as it tastes. The contrasting colors create beautiful patterns in every slice, while the dual-toned frosting adds an extra touch of elegance.
I first made this marble cake for my niece's birthday when she couldn't decide between chocolate and vanilla. The delighted look on her face when she saw the beautiful swirls convinced me this would become my signature celebration cake.
Ingredients
- Unsalted butter: The foundation of our cake providing richness and moisture. Room temperature butter is essential for proper creaming.
- Caster sugar: Finer than granulated sugar dissolves more easily creating a light texture. Look for pure cane sugar for best results.
- Self raising flour: Contains leavening agents already mixed in for a reliable rise every time. Sift before using for ultimate fluffiness.
- Medium eggs: Provide structure and moisture. Bring to room temperature before using for better incorporation.
- Cocoa powder: Gives the chocolate portions their deep flavor. Choose Dutch processed for a smoother less bitter taste.
- Whole milk: Adds moisture and helps thin the chocolate batter. Full fat works best for richness.
- Vanilla extract: Use pure rather than imitation for the best flavor profile. The vanilla portions shine when using high quality extract.
Step-by-Step Instructions
- Prepare your workspace:
- Heat your oven to 180ºC or 160ºC fan and prepare two 8 inch cake tins with baking parchment. Having everything ready before mixing ensures a smooth baking process.
- Create the base batter:
- Beat the butter and sugar together until the mixture becomes noticeably lighter in color and fluffy in texture. This typically takes 3 to 5 minutes with an electric mixer and incorporates crucial air into your batter.
- Add structure ingredients:
- Incorporate the flour and eggs into your butter mixture gradually to prevent lumps forming. Mix until just combined as overmixing can make your cake tough.
- Divide and flavor:
- Separate the mixture evenly between two bowls. Add cocoa powder and milk to one portion for the chocolate batter and vanilla extract to the other. The milk helps maintain moisture in the chocolate portion as cocoa powder tends to dry batters.
- Create the marble effect:
- Spoon alternating dollops of vanilla and chocolate batters randomly into your prepared tins. Use a knife or skewer to gently swirl the batters together with no more than 2 to 3 passes to maintain distinct swirls.
- Bake to perfection:
- Place in the preheated oven for 30 to 35 minutes until a skewer inserted comes out clean. The cakes should spring back when lightly pressed in the center.
- Cool completely:
- Allow cakes to rest in tins for 10 minutes before transferring to a wire rack. Cool fully before frosting to prevent melting buttercream.
 Save
Save
The cocoa powder is truly the star ingredient here. I discovered that using high quality Dutch processed cocoa makes an enormous difference in the depth of flavor. Once when making this for a family gathering I only had regular cocoa on hand and while still delicious the richer version has spoiled everyone for anything less now.
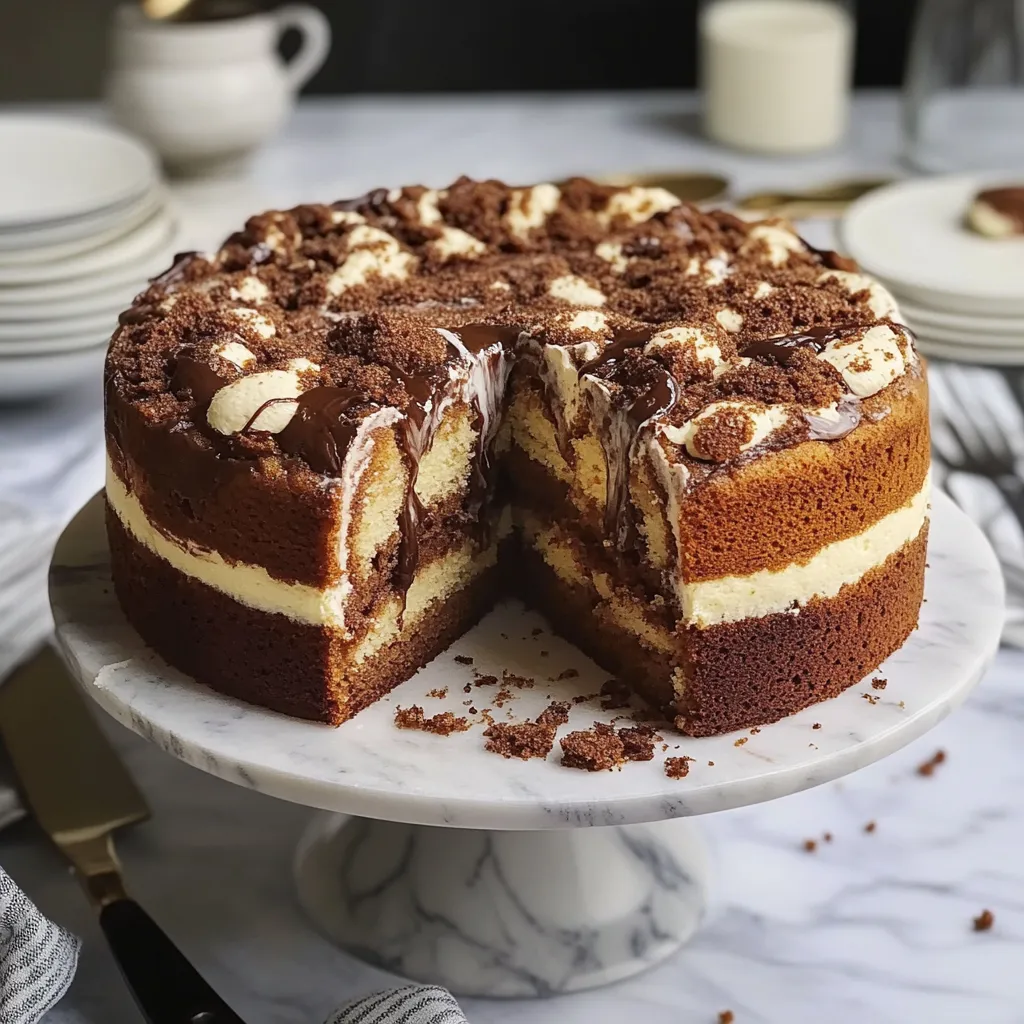
The Perfect Swirl Technique
Achieving beautiful marbling requires restraint. Many bakers ruin their patterns by overswirling. The key is to use a light touch and make only 2 to 3 passes with your knife or skewer. Think of creating an abstract art piece rather than fully mixing the batters. For even more dramatic contrast leave some areas with distinct chocolate and vanilla portions.
Storage and Freshness
This marble cake stays wonderfully moist for 3 to 4 days after baking when stored in an airtight container at room temperature. The butter content helps preserve freshness while preventing the cake from drying out. For longer storage it freezes beautifully for up to 3 months. Simply wrap individual slices or the entire cake tightly in plastic wrap followed by aluminum foil. Thaw overnight in the refrigerator then bring to room temperature before serving for the best texture and flavor.
Flavor Variations
While the classic vanilla and chocolate marble is timeless this versatile recipe welcomes creative adaptations. Try adding orange zest or extract to the chocolate portion for a chocolate orange combination that tastes like those famous holiday treats. Almond extract works beautifully in the vanilla batter creating a sophisticated flavor profile. Lemon zest brightens the vanilla sections perfectly for spring and summer occasions. Each variation maintains the beautiful marbling effect while offering a customized flavor experience.
Frequently Asked Questions About Recipes
- → How do I create the marble effect?
Divide the batter into two bowls, flavor one with cocoa and one with vanilla. Dollop the batters alternately in the tins, then swirl lightly with a knife for the marble effect.
- → Can I freeze the marble cake?
Yes, you can freeze it for up to 3 months. Wrap it tightly in cling film and store it in an airtight container.
- → What toppings go well with this cake?
You can use sprinkles, chocolate shavings, or fruit for decoration to enhance the visual and taste appeal.
- → Can I use a different frosting type?
Absolutely! Cream cheese frosting or whipped cream are great alternatives to buttercream if you prefer lighter toppings.
- → How do I ensure the cake stays moist?
Do not overbake the cake, and ensure proper measuring of ingredients like milk and butter. Store in a sealed container to retain moisture.