
 Save
Save
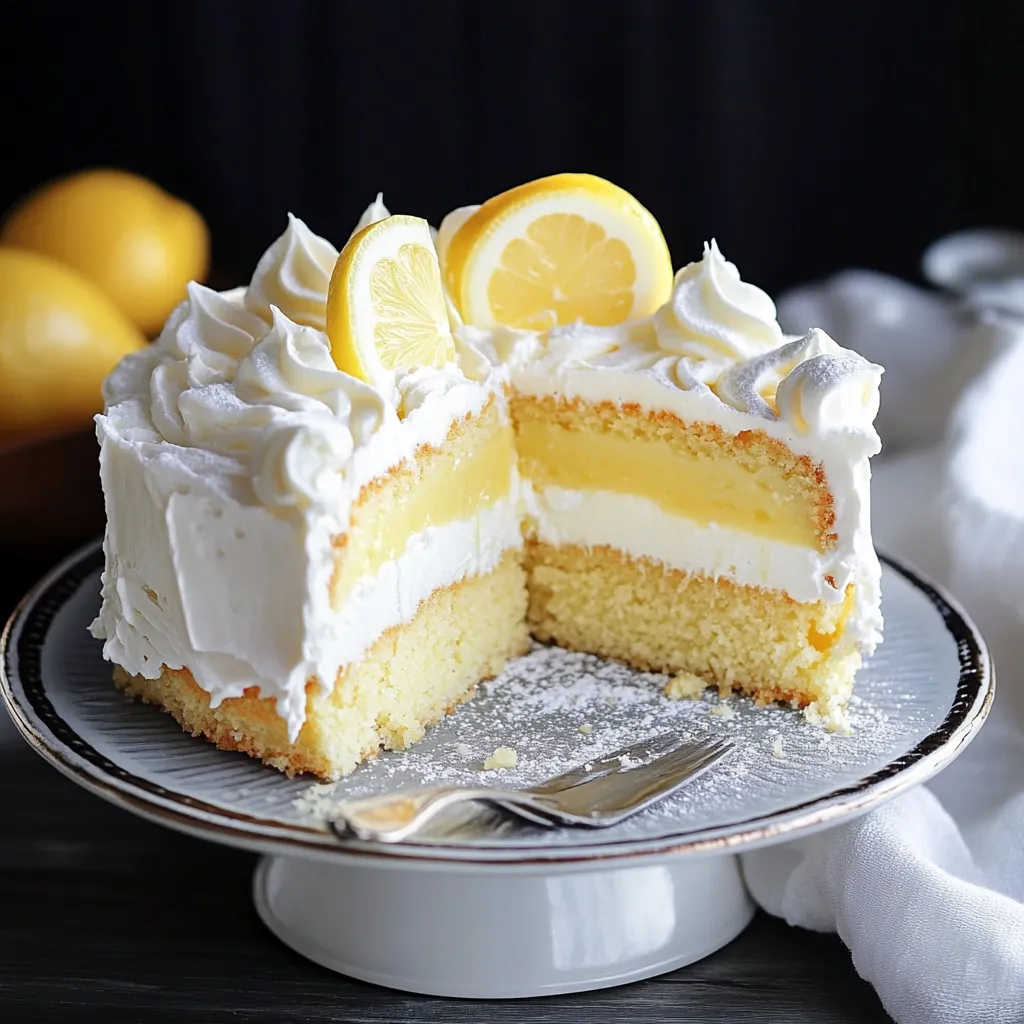
This lemon lush cake has become my signature dessert for spring and summer gatherings, offering the perfect balance of tangy lemon and creamy sweetness without the fuss of a traditional lemon meringue pie.
I first made this for my daughter's birthday when she requested something lemony but not too complicated. The entire family demolished it in one sitting, and now it appears at nearly every family celebration from March through September.
Ingredients
- Crust: All purpose flour forms the sturdy base for our dessert
- Granulated sugar: Adds just enough sweetness to complement the tangy layers above
- Chopped nuts: Provide excellent texture contrast; look for freshly shelled for best flavor
- Unsalted butter: Brings everything together; choose good quality for best results
- Cream Cheese Layer: Cream cheese creates a tangy rich foundation; use full fat for the creamiest texture
- Granulated sugar: Balances the tartness perfectly
- Fresh lemon zest: Contains the essential oils that provide intense lemon flavor
- Fresh lemon juice: Brightens the entire dish; avoid bottled juice for best results
- Whipped topping: Makes the layer light and fluffy
- Pudding Layer: Instant lemon pudding boxes provide convenience and consistent lemon flavor
- Cold milk: Activates the pudding properly; whole milk creates the richest texture
- Top Layer: Whipped topping creates the perfect cloud-like finish
- Optional garnishes: Like lemon zest or slices signal what flavors await inside
Step-by-Step Instructions
- Prepare the Crust:
- Preheat your oven to 350°F and prepare your baking dish with a light coating of cooking spray to ensure easy serving later. Combine flour, sugar, finely chopped nuts, and softened butter in a large bowl, working the mixture until it resembles coarse crumbs that hold together when pressed. Press this mixture firmly and evenly into your baking dish, creating a solid foundation that will support all the creamy layers to come.
- Bake the Perfect Base:
- Place your crust in the preheated oven for 15 to 18 minutes, watching carefully for that perfect golden brown color that indicates a properly cooked, slightly nutty crust. The kitchen will fill with a warm, buttery aroma when it's nearly done. Allow the crust to cool completely before adding any toppings, as residual heat can melt the cream cheese layer.
- Create the Cream Cheese Layer:
- Beat the softened cream cheese and sugar together until completely smooth and free of lumps, which usually takes about 2 minutes with an electric mixer. The mixture should be fluffy and light. Gently fold in the fresh lemon zest, juice, and whipped topping using a spatula with a light hand to maintain the airy texture. Spread this mixture evenly over the cooled crust, taking care to reach all the corners.
- Prepare the Pudding Layer:
- Whisk together the instant lemon pudding mix and cold milk in a large bowl for about 2 minutes until the mixture begins to thicken but is still pourable. Pour this mixture over the cream cheese layer, using an offset spatula to create an even surface. This layer needs to set properly, so patience during chilling is important for clean slices later.
- Add the Finishing Touch:
- Once the pudding layer has set completely, gently spread the remaining whipped topping over the entire dessert, creating decorative swirls if desired. This final layer should be applied with a light touch to maintain the distinct layers beneath. Add any optional garnishes just before serving for the freshest presentation.
 Save
Save
The fresh lemon zest is truly the secret ingredient in this recipe. When my grandmother first taught me to make this dessert, she insisted on using the entire zest of the lemon, explaining that this is where all the aromatic oils live. The first time I skipped this step thinking the juice would be enough, everyone noticed something was missing.
Make It Your Own
This lemon lush cake welcomes customization based on your preferences. Consider swapping the lemon pudding for other flavors like vanilla or coconut for a different twist. The nuts in the crust can be omitted entirely for those with allergies, or you can substitute graham cracker crumbs mixed with butter for a more traditional crust base. White chocolate shavings make an elegant garnish for special occasions, adding another layer of indulgence to this already decadent dessert.
Storage Information
This dessert maintains its best quality when stored in the refrigerator, tightly covered with plastic wrap. It will keep beautifully for up to 5 days, though the crust may soften slightly over time. For the best texture, avoid freezing this dessert as the creamy layers can separate and become watery upon thawing. If serving for a party, you can prepare it up to two days in advance, adding the final garnishes just before bringing it to the table.
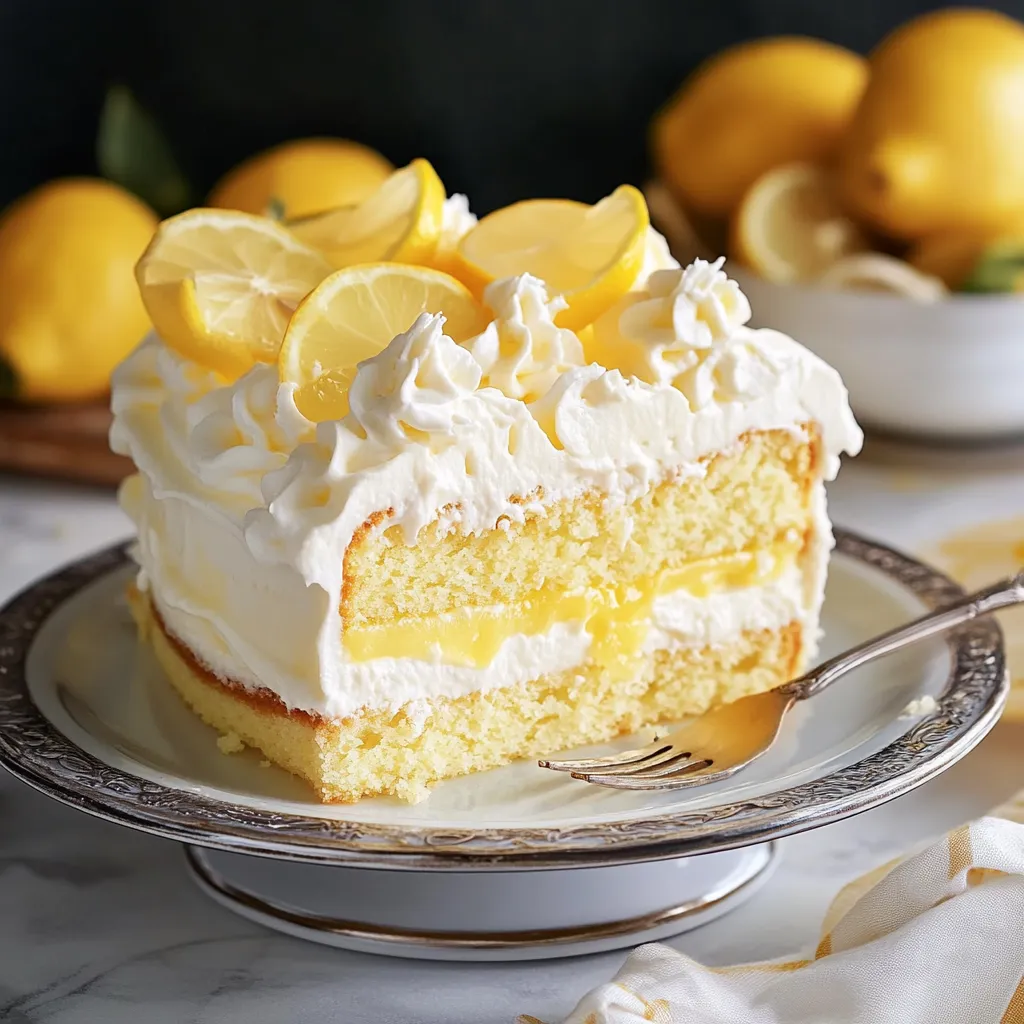
Serving Suggestions
Serve this lemon lush cake well-chilled for the best flavor and texture experience. A sharp knife dipped in hot water and wiped clean between cuts creates the cleanest slices. This dessert pairs wonderfully with fresh berries on the side, particularly raspberries or blueberries that complement the lemon flavor. For a special touch, offer a small pitcher of raspberry coulis for guests to drizzle as desired, or serve with a scoop of vanilla bean ice cream for an extra indulgent treat.
Frequently Asked Questions About Recipes
- → Can I use other nuts for the crust?
Yes, you can substitute pecans or walnuts with almonds, hazelnuts, or your favorite nut variety based on preference.
- → Can I make this dessert ahead of time?
Absolutely. It’s best prepared the day before to allow ample chilling time for the flavors to meld together.
- → Can I substitute instant pudding with homemade pudding?
Yes, you can use homemade pudding, but make sure it’s set and chilled before layering it onto the dessert.
- → What can I use instead of whipped topping?
Freshly whipped cream can be an excellent alternative to store-bought whipped topping.
- → How should I store leftovers?
Store leftovers in an airtight container in the refrigerator for up to 3 days.
- → Can this dessert be frozen?
Yes, you can freeze it, but note that the texture of the dairy layers may slightly change upon thawing.