
 Save
Save
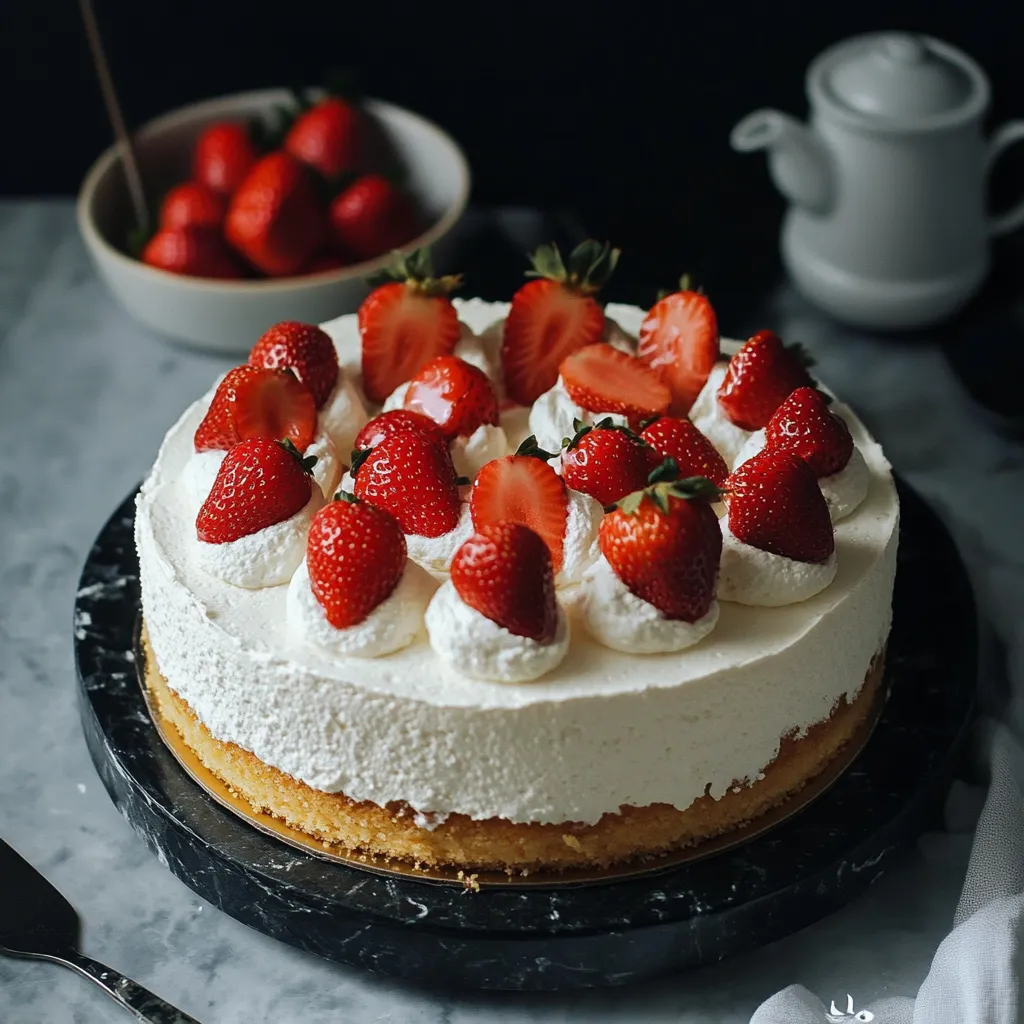
This hearty Japanese Strawberry Cake has been my go-to celebration centerpiece for years. The cloud-like sponge paired with fresh strawberries and light cream creates a dessert that feels special without being overly sweet or heavy.
I first made this cake for my daughter's birthday after she fell in love with it at a Japanese bakery. The look on her face when she tasted the homemade version was worth every minute spent in the kitchen.
Ingredients
- Cake flour: Provides a more delicate texture than all purpose flour due to its lower protein content
- Whole milk: Adds richness to the sponge without making it heavy
- Caster sugar: Dissolves more easily in the egg whites for maximum volume
- Fresh strawberries: Look for bright red berries with no white shoulders as they are the star ingredient
- Heavy whipping cream: With at least 36% fat content whips better and holds its shape longer
- Optional gelatin: Creates a stabilized cream that prevents the cake from sliding or melting quickly
Step-by-Step Instructions
- Prepare the Cake Pan:
- Line an 8 inch round cake pan with parchment paper at the bottom only. The clean sides allow the cake to climb properly during baking. Prepare your water bath by finding a larger pan that can hold about an inch of water and your cake pan.
- Create the Batter Base:
- Melt butter and milk together until just warm enough to combine smoothly. This creates a rich base without overheating the mixture which could cook the eggs prematurely when added later.
- Add Structure with Flour:
- Sift cake flour directly into your milk mixture to prevent lumps and maintain the light texture. Fold with a gentle hand using a spatula until just combined. Overmixing at this stage will develop gluten and toughen the cake.
- Incorporate Egg Components:
- Add egg yolks to the batter and mix until uniform. In a separate clean bowl whip egg whites slowly adding sugar until glossy medium peaks form. The meringue provides the structure and lift for this delicate cake.
- Master the Folding Technique:
- Fold one quarter of the meringue into the yolk mixture first to lighten it. This crucial step makes it easier to incorporate the remaining meringue without deflating it. Continue folding gently with a cutting and scooping motion.
- Bake with Precision:
- Pour batter into the prepared pan and drop it twice from a few inches high to release large air bubbles. The water bath ensures even gentle heat resulting in a perfectly moist cake with no dry edges.
- Prepare the Fruit:
- While the cake bakes slice strawberries and macerate them with sugar. This draws out juices and intensifies their flavor creating a sweet syrup that will be used to moisten the cake layers.
- Whip the Perfect Cream:
- Beat heavy cream until very soft peaks form then add sifted powdered sugar. The timing is crucial here as overbeating will create a grainy texture especially if using the stabilized version with gelatin.
- Assemble with Care:
- Cut the cake horizontally into two even layers after carefully measuring and marking with toothpicks. Brush each layer with syrup position strawberries precisely and apply cream in thin even layers building up gradually.
 Save
Save
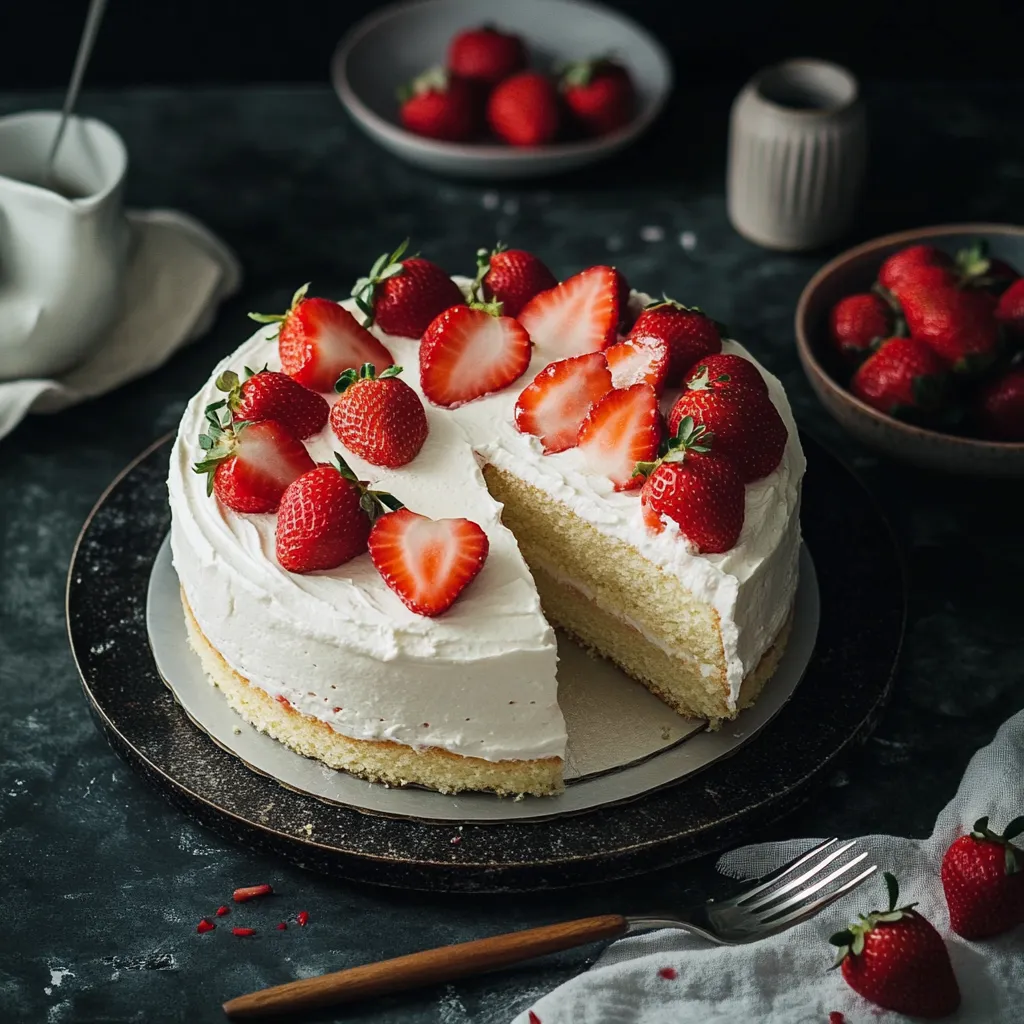
The strawberry syrup created during maceration is my secret weapon in this recipe. Brushing this concentrated fruit essence onto the cake layers not only adds moisture but amplifies the strawberry flavor throughout each bite without making the cake soggy.
Storage and Make-Ahead Tips
This cake is best enjoyed within 24 hours of assembly for optimal texture and flavor. However if using the stabilized cream version it will hold its shape beautifully for up to two days refrigerated. Store in a cake container if possible or loosely tent with plastic wrap avoiding direct contact with the cream surface.
The unfrosted cake layers can be made a day ahead and wrapped tightly in plastic wrap once completely cooled. This actually improves the texture slightly and makes assembly less stressful when preparing for a special occasion.
Seasonal Adaptations
While strawberries create the classic version this technique works beautifully with other seasonal fruits. In summer try peaches or nectarines sliced thinly. Fall brings opportunities for poached pears or persimmons. Winter citrus segments work surprisingly well especially blood oranges or mandarins. Spring brings strawberries but also consider raspberries or a combination of early berries.
The key is choosing fruits that aren't too watery and have good structural integrity when sliced. Whatever fruit you choose follow the same macerating technique to draw out flavors before assembling.
Cultural Context
Japanese cake shops or patisseries have perfected this style of cake known as "shortcake" despite being quite different from American shortcake. The Japanese version emphasizes lightness delicacy and visual beauty with precisely placed fruit and perfectly smooth cream. This style became popular in Japan after World War II when Western baking techniques merged with Japanese aesthetic sensibilities.
The result is a cake that prioritizes balance over sweetness and visual harmony over excessive decoration. This approach has influenced bakeries worldwide making the Japanese strawberry cake an internationally recognized dessert.
Frequently Asked Questions About Recipes
- → Can I make the cake without gelatin?
Yes, simply skip the gelatin and prepare the whipped cream frosting as usual. The cream will still hold without stabilization if served within a few hours.
- → How do I prevent the cake from collapsing?
Ensure the egg whites are beaten to medium peaks and avoid overmixing the batter. Also, bake the cake in a water bath for even cooking.
- → Can I use other fruits instead of strawberries?
Yes, you can substitute strawberries with raspberries, blueberries, or other fresh fruits, depending on your preference.
- → How do I store the cake?
Store the assembled cake in the refrigerator, covered, for up to 2 days. For the best texture, serve it within the first day of making it.
- → Can I make this cake ahead of time?
You can prepare the cake layers in advance and store them in an airtight container. Assemble and frost the cake on the day you plan to serve for the freshest results.